7 Aug 2026
Post by Aurorina
Introduction
You opened your PC and saw a pop up from a program called PC App Store on Windows 11. It spawns shortcuts, promotes extra installs, and may tweak your browser. You did not ask for it, and you want it gone. This guide shows you how to remove PC App Store on Windows 11 safely and completely. You will start with quick steps for fast relief, then move through deeper cleanup that stops it from coming back.
We focus on clear actions and trusted tools. You will remove the app, stop services and tasks, delete leftovers, scan with reputable software, reset browsers, fix network changes, and verify the cleanup. Each section builds on the previous one so you can follow a steady path. If a step does not apply to your system, move to the next. By the end, your PC should feel clean, stable, and fast again.
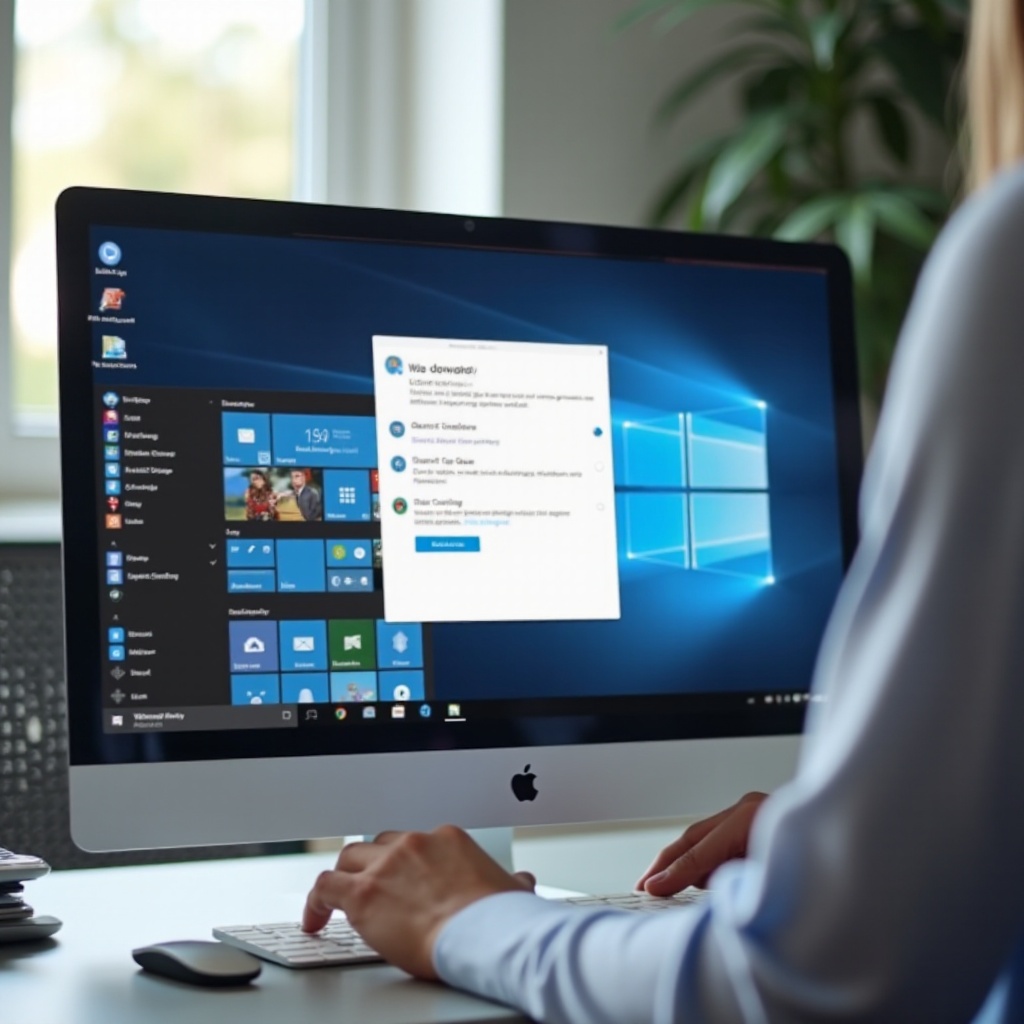
What is PC App Store on Windows 11 and why it is risky
Before you remove anything, identify the problem. PC App Store is not the Microsoft Store. It is a third party program that often arrives bundled with drivers, freeware, or download managers. Many security tools classify it as a potentially unwanted program or adware. It may push unneeded apps, inject ads, alter your browser, and create scheduled tasks to persist.
The risk goes beyond the main app. Bundlers can add services that start with Windows, drop files into AppData, or change proxy and DNS settings. These moves slow your PC and can erode privacy. Treat it as unwanted unless you installed it on purpose from a trusted source. In most cases, full removal plus a follow up scan is the safest choice. With that context, you are ready for a quick action plan and then a complete cleanup.
Quick answer: How to remove PC App Store Windows 11 right now
If you need immediate relief before the in depth cleanup, follow these fast steps. They give you breathing room and may fully solve simple cases.
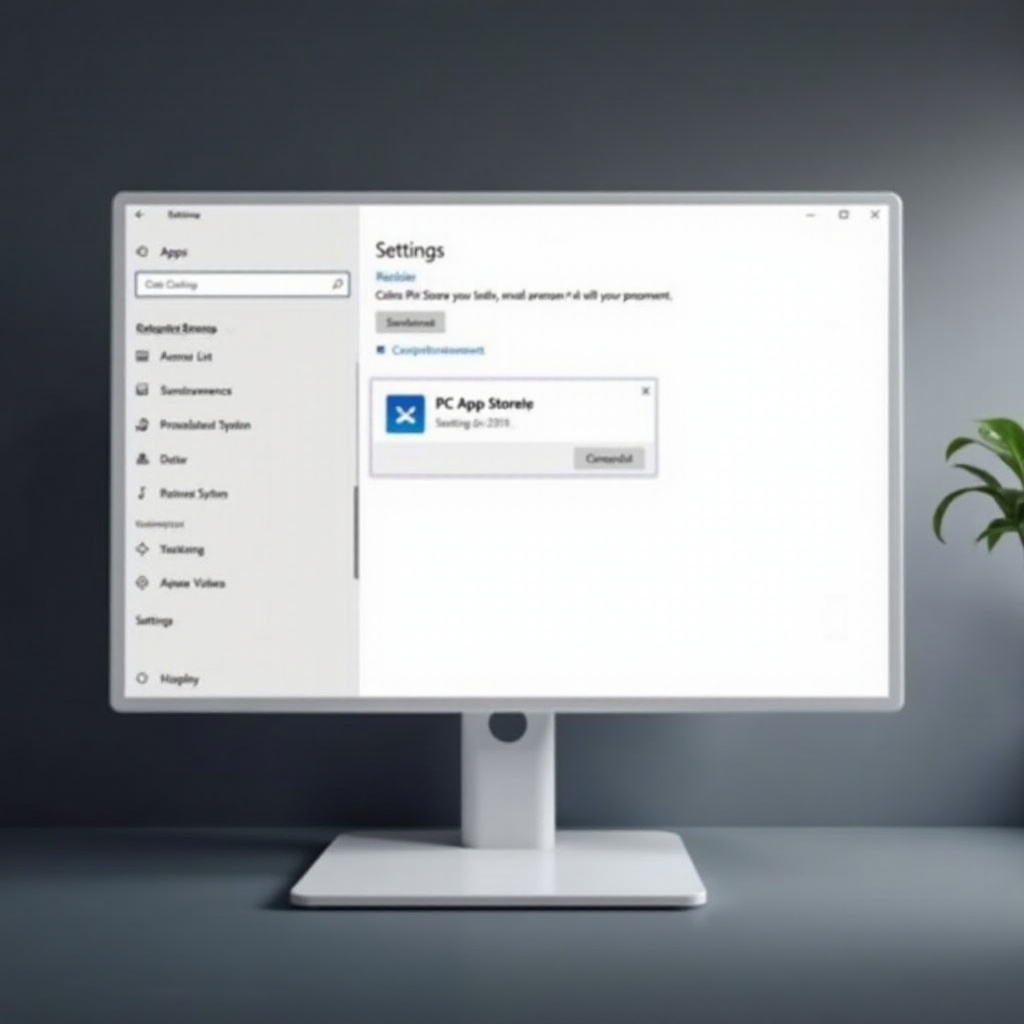
- Open Settings > Apps > Installed apps. Uninstall items named PC App Store, App Store, or similar. Remove unknown apps installed on the same date.
- Open Task Manager > Startup and disable entries tied to the app.
- Run a Microsoft Defender Full scan. Then run an on demand scan with a reputable adware remover.
- Reset your default browser settings. Remove any new extensions you did not add.
- Reboot and check whether the pop ups stop.
If the uninstall fails or the app returns, continue with the thorough methods below. The next section prepares your safety net and tools so you can clean without risk.
Before you start: Backups, restore point, and trusted tools
You will make system changes and may delete files and registry entries. Set a safety net first. Then gather tools that will help you scan and verify removal. With this prep done, Method 1 will proceed smoothly and give you simple wins.
Create a system restore point and backup
Create a Restore Point. Press Win+R, type SystemPropertiesProtection, click Create, and name it Before PC App Store removal. Back up documents and photos to OneDrive or an external drive. A restore point helps if a removal breaks a dependency, while a backup protects your personal data if you need to reset or roll back.
Download reputable scanners (Microsoft Defender, AdwCleaner, Malwarebytes)
Keep Microsoft Defender enabled. Download AdwCleaner and Malwarebytes from their official sites. Save the installers on your desktop or a USB drive. You will run them after removing the main app and its startup hooks, which increases their effectiveness.
Prepare offline copies and a Safe Mode plan
Some variants try to block downloads or restorers. If possible, keep offline copies of the tools on a USB stick. Learn how to boot to Safe Mode in advance: Settings > System > Recovery > Advanced startup > Restart now. You will use Safe Mode if normal removal fails. With these precautions in place, start with the basic uninstall.
Method 1: Uninstall PC App Store via Settings and Control Panel
The first target is the main program entry. A successful uninstall clears most files and registry entries and reduces the chance of persistence. If this step completes, later steps will be faster and safer.
Settings > Apps > Installed apps
Open Settings > Apps > Installed apps. Find PC App Store or similar names. Click the three dots and choose Uninstall. If there are multiple matching entries, remove them one by one. Decline offers to repair or change, and reject prompts that keep background services.
Identify suspicious publishers and versions
Sort the app list by Install date. Remove unknown tools installed at the same time as PC App Store. Pay attention to the Publisher field. Entries from vague or mismatched publishers deserve extra scrutiny. Uninstall toolbars, helper utilities, and download managers that appeared together.
Use Control Panel for legacy uninstallers
If Settings fails, open Control Panel > Programs > Programs and Features. Try to uninstall from there. If an uninstaller demands admin rights, allow it. If it crashes or says files are missing, do not worry. You will remove leftovers in later steps. After the uninstall, move on to stopping what is still running.
Method 2: End processes and stop services tied to PC App Store
If parts of the app still run, they can block removal or re create files. Stopping processes and services clears the way for deeper cleanup. This step prepares the ground for removing startup entries and tasks in the next method.
Task Manager and Process Explorer
Open Task Manager with Ctrl+Shift+Esc. On the Processes tab, look for PC App Store, AppStore, or unknown processes with a matching icon. Right click and choose Open file location to confirm the path. End task for the process. If you use Process Explorer, examine the process tree and kill the parent chain when you are confident it is tied to the PUP.
Services.msc: disable and stop
Press Win+R, type services.msc. Find services with names or descriptions that match the app or its publisher. Double click, set Startup type to Disabled, and click Stop. Note each service name so you can remove it later if it persists.
Delete service with sc or PowerShell if needed
If a service returns after a reboot and you confirmed it is unwanted, open Windows Terminal as admin. Use sc delete ServiceName or PowerShell Remove Service with the exact name. Only delete services after disabling them and verifying they belong to the unwanted app. With processes and services stopped, you can now remove the startup hooks.
Method 3: Remove startup entries and scheduled tasks
Adware often relies on startup entries and scheduled tasks to relaunch after boot or at intervals. Removing these hooks prevents the program from reinstalling itself or re opening ads. This method links cleanly into deleting leftover folders in the next step.
Task Manager Startup tab and Startup folders
Open Task Manager and select Startup apps. Disable entries that point to the app or unknown executables in AppData. Then check these Startup folders:
– C:\ProgramData\Microsoft\Windows\Start Menu\Programs\StartUp
– C:\Users\YourUser\AppData\Roaming\Microsoft\Windows\Start Menu\Programs\Startup
Delete shortcuts that launch the unwanted program.
Autoruns: Logon, Services, Scheduled Tasks
Download Microsoft Autoruns from the official site and run as admin. On the Logon, Scheduled Tasks, Services, and Drivers tabs, uncheck entries that point to the app folder or executable. Hover each entry to see the full path. Avoid touching Windows components or signed drivers from reputable vendors.
Task Scheduler: delete hidden tasks
Open Task Scheduler. Browse the Task Scheduler Library and its subfolders. Look for tasks with random names or those that trigger on logon or at idle to run the app. Use the Actions tab to confirm the target path, then delete the task. With startups cleared, remove the files and folders that remain.
Method 4: Delete leftover folders, files, and temp caches
Once the app and tasks stop running, delete the files that remain. Leftovers can re register components or feed other installers. A clean file system sets the stage for a safe registry cleanup next.
Program Files, ProgramData, AppData paths
Check these locations for folders named after PC App Store or its publisher:
– C:\Program Files and C:\Program Files (x86)
– C:\ProgramData
– C:\Users\YourUser\AppData\Local and \Roaming
Delete related folders. If access is denied, make sure the process is not running or repeat in Safe Mode.
Clean Temp and Prefetch safely
Clear caches to remove temporary launchers and installers:
– Press Win+R, type %temp%, and delete what you can.
– Go to C:\Windows\Temp and C:\Windows\Prefetch and remove recent junk files. Skip files in use.
Recycle Bin and permissions
Empty the Recycle Bin. If you face permissions errors, you can adjust ownership in Properties > Security > Advanced, but only do this when certain the folder belongs to the unwanted app. With the file system cleaned, you are ready for a careful registry pass.
Method 5: Clean the Windows Registry safely
The uninstaller often leaves startup keys and class registrations behind. A cautious registry cleanup removes those stragglers. With files gone, registry entries lose their targets and are safer to remove.
Export backups first
Open Registry Editor with regedit. Click File > Export, choose All, and save a full backup. If anything goes wrong, you can import the backup. Proceed slowly and delete only keys you identify with confidence.
Remove run keys and app IDs
Check these locations for values that point to the app executable:
– HKEY_CURRENT_USER\Software\Microsoft\Windows\CurrentVersion\Run
– HKEY_LOCAL_MACHINE\SOFTWARE\Microsoft\Windows\CurrentVersion\Run
– HKEY_LOCAL_MACHINE\SOFTWARE\WOW6432Node\Microsoft\Windows\CurrentVersion\Run
Delete only values that call the unwanted executable or its helper.
Search for residual PC App Store keys
Press Ctrl+F in Registry Editor. Search for PC App Store and any executable names you saw earlier. Carefully remove keys that clearly belong to the app or its installer. Do not touch unrelated Windows, driver, or vendor keys. With the registry tidy, run verification scans.
Method 6: Scan and quarantine with Microsoft Defender and adware removers
Manual cleanup catches a lot, but scanners excel at finding hidden items. Running Defender and an adware remover now validates your work and catches anything missed. This flows into browser and network fixes if the reports show hijacks.
Full scan with Defender
Open Windows Security and choose Virus and threat protection. Run a Full scan to check every file. Quarantine anything labeled as PUP or adware. Restart if requested so cleanup can complete.
On demand scan with AdwCleaner and Malwarebytes
Run AdwCleaner and click Scan. Quarantine detections, then reboot if prompted. Next run Malwarebytes and perform a Threat Scan. Remove all findings. These tools target adware, browser policies, and remnants that manual steps can overlook.
Review quarantine and log files
Open the reports for each tool. Note file paths, registry keys, and policy changes. If reports mention proxies, DNS, or browser policies, address them in the next two sections. With the system scanned, switch focus to your browsers.
Reset browsers and remove hijacks
If PC App Store altered your browser, undo the changes now. A clean browser prevents redirects and pop ups from lingering while you fix network settings in the next section.
Edge, Chrome, and Firefox reset and cleanup
Reset the browser to defaults:
– Edge: Settings > Reset settings > Restore settings to their default values.
– Chrome: Settings > Reset settings > Restore settings to their original defaults.
– Firefox: Help > More Troubleshooting Information > Refresh Firefox.
This removes unwanted tweaks while keeping bookmarks and passwords in most cases.
Remove malicious extensions and policies
Open the extensions page and remove items you did not install:
– Edge or Chrome: Menu > Extensions, then toggle off and remove suspicious entries.
Check for forced policies:
– Edge: edge://policy
– Chrome: chrome://policy
If unknown policies appear, remove their registry sources that you identified earlier with Autoruns or during the registry cleanup.
Fix search engine, homepage, and notifications
Set your default search engine to a trusted provider. Restore your homepage and new tab page. In site permissions, revoke notification access for spammy sites. With the browser reset, proceed to network repairs to clear traffic reroutes.
Fix network changes, proxies, DNS, and hosts
Some bundles modify your network stack to control traffic or ads. Reset these settings to restore normal browsing. This step finalizes the environment so persistence mechanisms cannot phone home.
Reset proxy and LAN settings
Open Settings > Network and internet > Proxy. Turn off Use a proxy server unless your network requires it. In Internet Options > Connections > LAN settings, uncheck Use a proxy server and keep Automatically detect settings enabled.
Flush DNS and reset Winsock
Open Windows Terminal as admin and run these commands, then reboot:
– ipconfig /flushdns
– netsh winsock reset
– netsh int ip reset
This clears cached resolutions and resets sockets to defaults.
Inspect hosts file and certificates
Open C:\Windows\System32\drivers\etc\hosts in Notepad as admin. Remove entries that redirect common sites unless you added them for a valid reason. If browsers warn about strange certificates, open certmgr.msc and remove unknown root certificates that adware may have added. With network paths fixed, you can handle stubborn variants with Safe Mode.
Use Safe Mode and recovery options for stubborn variants
If the app survives reboots or blocks changes, Safe Mode and recovery tools break persistence. This section gives you escalation paths when normal methods fail, before you verify success.
Boot to Safe Mode with Networking
Go to Settings > System > Recovery > Advanced startup > Restart now. Choose Troubleshoot > Advanced options > Startup Settings > Restart, then press 5 for Safe Mode with Networking. Repeat the uninstall, file deletion, and registry steps. In Safe Mode, fewer processes run, so files unlock more easily.
Windows Recovery: System Restore
If Safe Mode does not solve it, open Advanced startup again and choose System Restore. Select the restore point you created earlier named Before PC App Store removal. This rolls back recent system changes without touching your personal files.
In place repair install as last resort
If problems persist, perform an in place repair install of Windows 11 using the latest Microsoft ISO. This rebuilds system components while keeping apps and files. Afterward, reinstall your scanners, run them again, and verify that the unwanted app is gone. With stubborn cases handled, confirm the cleanup.
Verify removal: Confirm PC App Store is gone
Do not stop at deletion. Confirm that nothing runs or schedules itself again. Verification gives confidence and spots stragglers before they turn into a re infection.
Reboot and re check autoruns and tasks
Restart the PC. Open Autoruns and Task Scheduler again. Ensure no entries point to the app folders or executables. Open Task Manager Startup and confirm the entries are gone.
Monitor with Windows Security and Reliability Monitor
Open Windows Security and run a Quick scan. Then open Reliability Monitor by searching for Reliability in Start. Look for errors or recent re install events. A quiet report is a good sign.
Check browsers and network again
Open your browser and confirm your homepage, search engine, and new tab page. Visit a few trusted sites and look for pop ups or redirects. If issues remain, revisit the browser policy and network sections. With the system clean, harden it to prevent a repeat.
Prevent reinfection on Windows 11
Good habits and built in protections reduce the chance of seeing the same problem again. This section locks down your system so unwanted programs cannot sneak in. It also transitions cleanly into a short note about the Microsoft Store to avoid confusion.
Smart App Control and Reputation based protection
Turn on Smart App Control when available, and enable Reputation based protection in Windows Security. Activate Potentially Unwanted App blocking. These features can block known PUPs and risky installers before they run.
Avoid bundleware; use winget and official sources
Download software from official vendor sites or the Microsoft Store. For utilities, prefer winget in Windows Terminal to fetch clean packages from trusted sources. Avoid download portals and managers that push extras.
Keep Windows, browsers, and AV up to date
Enable automatic updates for Windows 11. Keep Edge, Chrome, or Firefox current. Let Microsoft Defender update threat intelligence several times a day. Out of date systems are easier targets for adware and unwanted changes.
Do not confuse PC App Store with Microsoft Store
The Microsoft Store is a core Windows app that manages trusted installs and updates. PC App Store is an unrelated third party program. You do not need to remove the Microsoft Store to fix this issue. If the Microsoft Store misbehaves after cleanup, repair it instead.
How to repair or reset Microsoft Store if needed
Go to Settings > Apps > Installed apps > Microsoft Store > Advanced options. Click Repair. If problems remain, click Reset. You can also re register the Store with PowerShell if support guidance suggests it. Keep the Store installed unless you have a strict kiosk scenario.
Enterprise options to block the Store without uninstalling
If you manage devices and must limit Store access, use Group Policy, Intune, or kiosk profiles. Policy blocks keep the platform supported while meeting compliance needs. This approach avoids breaking app delivery.
When removing Microsoft Store is not recommended
Uninstalling the Store can disrupt app updates and break UWP dependencies. For most users and organizations, keep it installed. Focus on removing the unwanted PC App Store program and tightening protections. With that distinction clear, you can wrap up the cleanup.
Conclusion
You removed PC App Store from Windows 11 and closed the paths it used to persist. You uninstalled the app, disabled startups and services, deleted leftovers, and ran trusted scans. You reset browsers, repaired network settings, and confirmed the system is clean. You also enabled protections and adopted safer download habits.
Stay cautious with installers, use official sources, and keep security features on. If you see similar behavior again, repeat the quick steps and run a full scan. These habits keep Windows 11 fast, clean, and secure.
Frequently Asked Questions
Is PC App Store a virus or just adware on Windows 11?
Most security tools label it as adware or a potentially unwanted program. It can push extras and change settings, but it is not always a classic virus. Treat it as unwanted, remove it, and run Defender plus an adware scan to catch leftovers. If a scanner flags trojans or backdoors, quarantine everything and follow the tool guidance.
Why does PC App Store keep coming back after I remove it?
It often leaves scheduled tasks, services, or startup entries that relaunch it. Some bundles also set browser policies or proxies that reinstall components. Remove persistence with Autoruns and Task Scheduler, delete leftover folders and registry run keys, reset browsers and network, and scan with Defender, AdwCleaner, and Malwarebytes. Only download from official sources.
Should I remove the Microsoft Store to get rid of PC App Store?
No. The Microsoft Store is unrelated and removing it will not solve the issue. Keep the Store installed. Focus on uninstalling the unwanted PC App Store program, cleaning startups and tasks, deleting leftovers, scanning with trusted tools, and repairing the Store only if it misbehaves.