2 Aug 2026
Post by Aurorina
Introduction
AirDrop lets you move photos, files, and links between Apple devices in seconds. You can turn it on with one swipe, choose who can see you, and share without texting or emailing. Set it up the right way and it stays fast and private, even in busy places.
This guide shows how to switch on AirDrop on iPhone using Control Center and Settings. You will learn how to choose the safest discovery option, use features like NameDrop, and share to Mac and iPad. You will also get quick fixes for common issues and pro tips for smoother transfers.
We start with what AirDrop does and why you might want it on. Then we walk through setup, privacy choices, and real world sharing steps. If you hit a snag, jump to the troubleshooting section for fast answers. Once you understand the basics, you can pick the best way to turn on AirDrop for your needs.
What AirDrop Does and Why You Should Turn It On
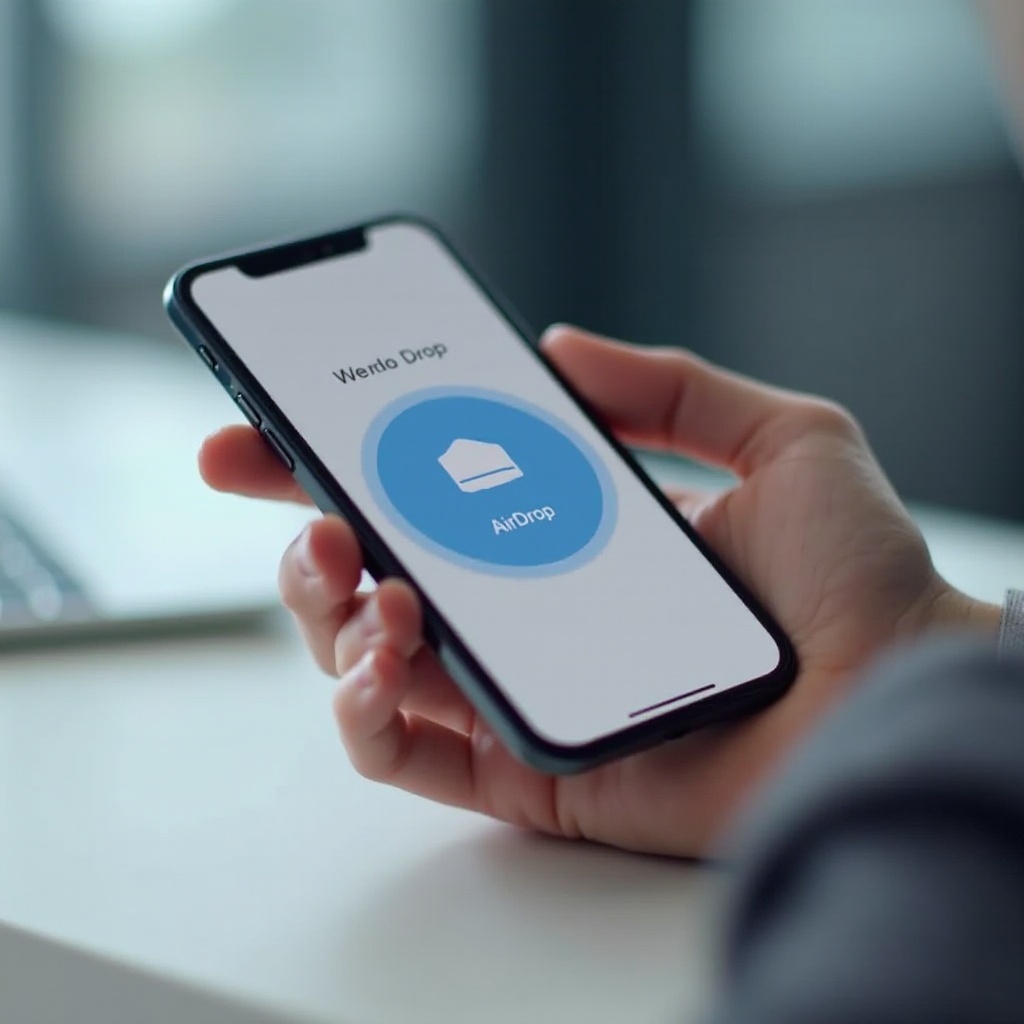
AirDrop uses Bluetooth to find nearby Apple devices and Wi Fi to move data at high speed. It works offline and does not compress photos or videos. Your files arrive in full quality and transfers feel instant.
Switch on AirDrop when you want to share fast without sending anything through the internet. It shines when you pass photos to a friend, drop a PDF to a coworker, or move a link to your Mac. You stay in control. You choose who can find you and who can send to you. With options like Everyone for 10 Minutes, you can open up AirDrop briefly, then lock it down again.
Because these benefits depend on a few radios and settings, you should confirm the basics first. A short check prevents most setup problems and makes the next steps smooth.
Prerequisites: Compatibility, Wi Fi, Bluetooth, and Settings You Need
Before you turn on AirDrop, check these basics. They make AirDrop appear and work as expected.
- Device and software: Use an iPhone with iOS 17 or later for the latest features, including NameDrop and Everyone for 10 Minutes.
- Wi Fi and Bluetooth: Turn both on. AirDrop uses Bluetooth to discover and Wi Fi to transfer.
- Personal Hotspot: Turn it off while using AirDrop. It can block discovery and transfers.
- Airplane Mode: Turn it off. Airplane Mode disables the radios AirDrop needs.
- iCloud: Sign in on both devices for Contacts Only. Use matching Apple IDs or saved contacts with correct emails or phone numbers.
- Contact card: On your iPhone, open Contacts, tap your card, and add your phone number and Apple ID email. This helps Contacts Only work reliably.
- Screen lock and distance: Keep devices awake, unlocked, and within about 30 feet or 10 meters.
- VPN and Low Data Mode: Disable if AirDrop stalls. They can interfere with networking.
- Screen Time: Check Content and Privacy Restrictions if AirDrop is missing.
With these prerequisites in place, you can switch on AirDrop from Control Center in seconds. That quick toggle is perfect for immediate sharing.
Quick Method: Turn On AirDrop from Control Center (Step by Step)
Use Control Center for the fastest way to switch on AirDrop. It takes a few taps and works from anywhere.
1) Open Control Center:
– On iPhones with Face ID: Swipe down from the top right corner.
– On iPhones with a Home button: Swipe up from the bottom edge.
2) Press and hold the connectivity tile, the top left group with Wi Fi, Bluetooth, and Airplane Mode.
3) Tap the AirDrop icon.
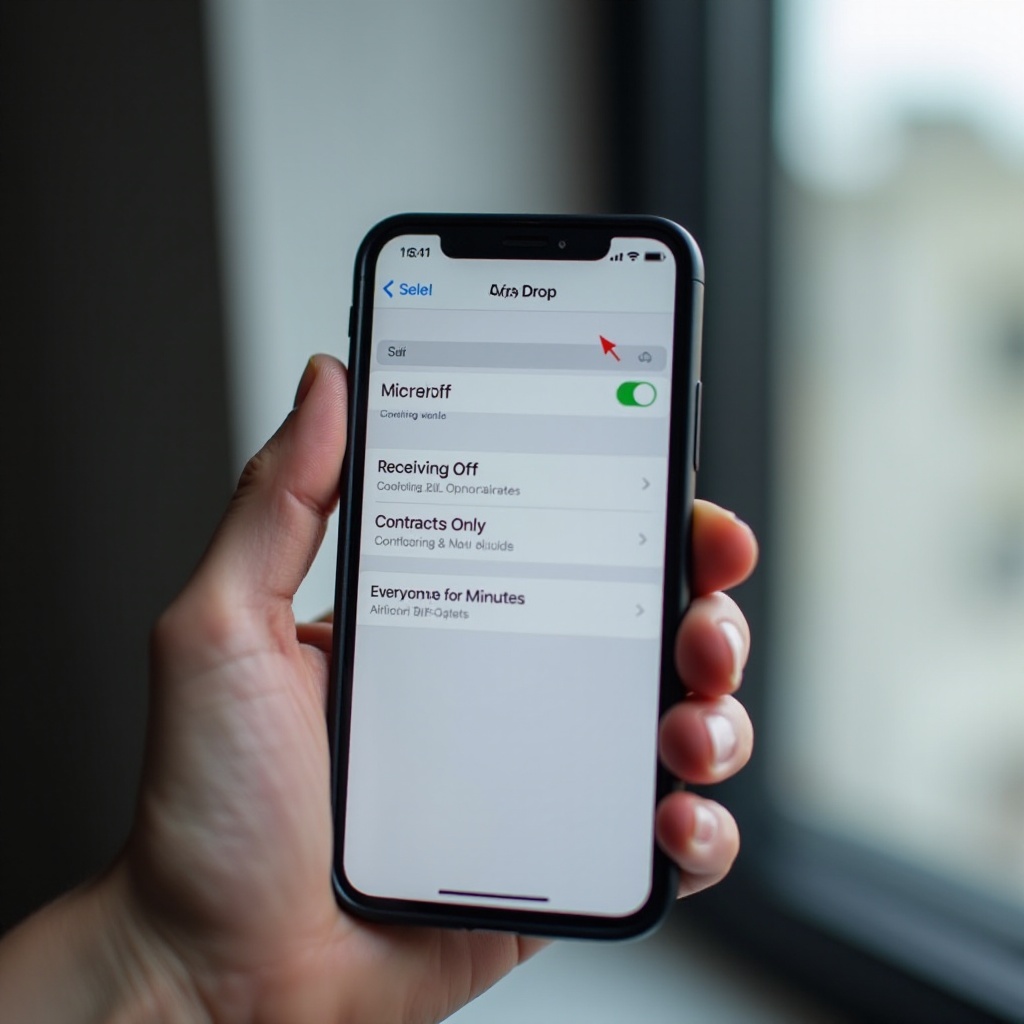
4) Choose your discovery:
– Receiving Off: Not discoverable. You can still send.
– Contacts Only: Discoverable to your contacts.
– Everyone for 10 Minutes: Discoverable to anyone nearby for a short window.
5) Confirm Wi Fi and Bluetooth are on. If not, tap to enable them.
6) Optional: If shown, tap the Bringing Devices Together or NameDrop toggle to quickly control proximity sharing.
This quick method is ideal when you want to share now and lock down later. If you want more control and options, open Settings for a complete view of AirDrop and related features.
Full Method: Turn On AirDrop from Settings (with Discovery Options)
Settings give you the full AirDrop panel and privacy controls. Use it to choose who can see you and how AirDrop behaves across features.
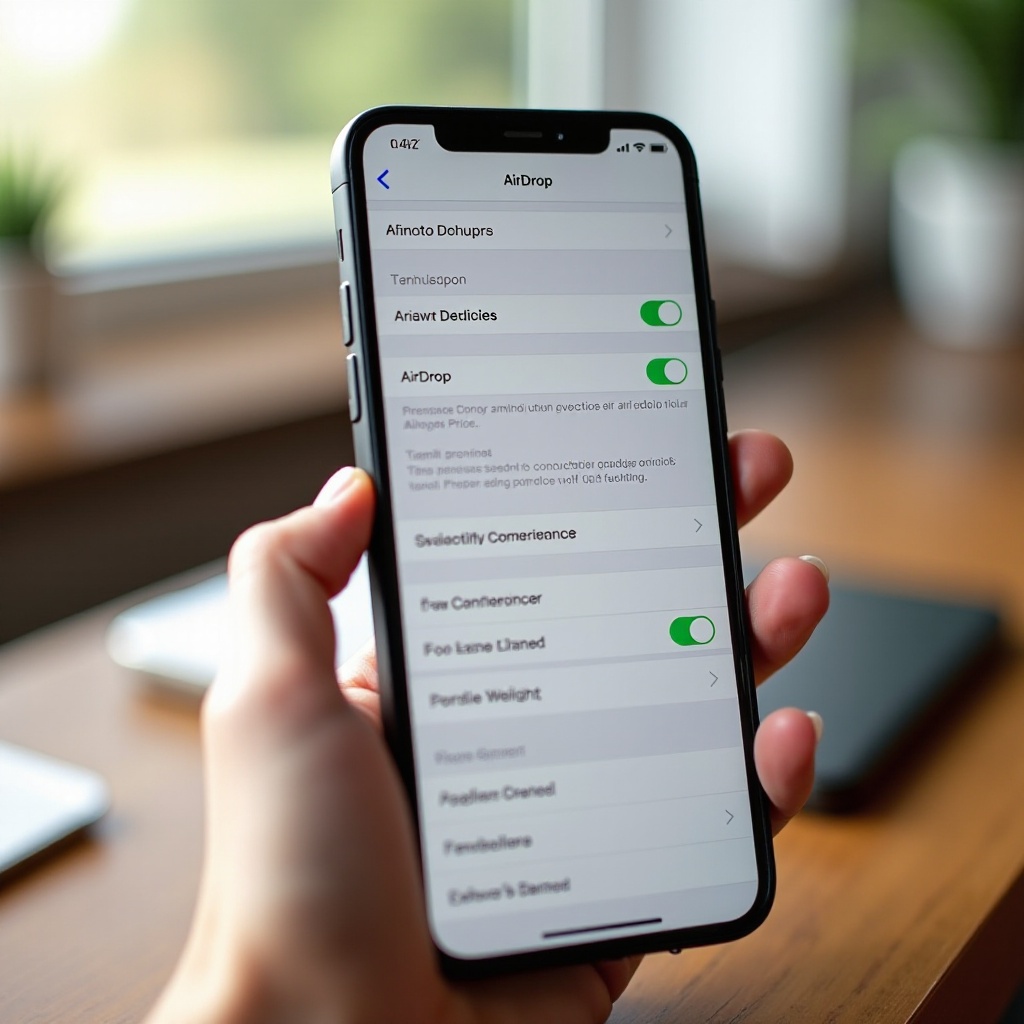
1) Open Settings > General > AirDrop.
2) Toggle AirDrop on if you see a master switch.
3) Set discovery and sharing options:
– Everyone for 10 Minutes: Broad discovery for a short time.
– Contacts Only: Safer default in daily use.
– Receiving Off: Hidden from others.
4) Turn on Bringing Devices Together if you want NameDrop and tap to share links by bringing devices close.
5) Enable Use Cellular Data if you want transfers to continue when Wi Fi drops as you walk away. AirDrop will switch to a supported peer connection to finish.
6) Review nearby sharing options such as Transfer to HomePod if present.
7) Check Screen Time > Content and Privacy Restrictions > Allowed Apps, and make sure AirDrop is allowed.
This method sets a stable baseline. Keep Contacts Only for privacy, then switch to Everyone for 10 Minutes when you need to receive from someone new. With your baseline set, you can fine tune discovery for different situations.
Choose Who Can See You: Receiving Off vs Contacts Only vs Everyone for 10 Minutes
Discovery settings control your privacy and the number of prompts you see. Pick the one that fits where you are and what you are doing.
- Receiving Off: Your iPhone will not appear to others. Use this in sensitive spaces, at work, or when you do not plan to receive anything. You can still send to others.
- Contacts Only: Your iPhone appears to people in your contacts if your card details match. This is the best everyday setting. It limits spam and random requests.
- Everyone for 10 Minutes: Your iPhone appears to anyone nearby for a short time. Use it to accept a file from someone not in your contacts. The system reverts after the timer, which helps prevent spam.
If Contacts Only fails, check that your contact details match on both sides. The sender must have your correct phone number or Apple ID email saved. If you cannot fix that on the spot, switch to Everyone for 10 Minutes, accept the file, and then go back to Contacts Only. Once you know which mode fits the moment, you can start sharing with confidence.
NameDrop and Bringing Devices Together: Enable and Control It
NameDrop lets you exchange contact details by bringing two iPhones close together. Bringing Devices Together also speeds up sharing links and files by making the nearby device appear faster.
- To enable: Go to Settings > General > AirDrop and turn on Bringing Devices Together.
- To use NameDrop: Hold the top edges of both iPhones near each other until you feel a subtle haptic and see the contact cards. Choose what you share: phone number, email, or both. Tap Receive Only if you only want to get their info.
- To use proximity for links and other items: When you share from an app, bring devices close to surface the recipient quickly.
You stay in control. You must confirm the transfer every time. If you do not want this behavior, turn off Bringing Devices Together. You can still use AirDrop normally via the share sheet and device list. With discovery set and NameDrop tuned, you are ready to share your first file.
Share Your First File: Photos, Files, and Links from iPhone
With AirDrop on, try a quick share. Keep both devices unlocked and near each other so they appear promptly.
Photos
1) Open Photos and select a picture or video.
2) Tap Share.
3) Tap AirDrop and pick the nearby device.
4) The recipient taps Accept.
Files such as PDFs and documents
1) Open the Files app and select your file.
2) Tap Share > AirDrop > choose the recipient.
3) The file arrives in the Files app or the target app on the other device.
Links
1) In Safari, tap Share on the page.
2) Tap AirDrop and choose the destination device.
3) The link opens on the recipient device or prompts to open.
If you do not see the device, confirm Wi Fi and Bluetooth are on, discovery is set correctly, and both screens are awake. Next, try sharing to a Mac or iPad for cross device practice so you can move content across all your Apple gear.
Share to Mac and iPad: AirDrop Across Apple Devices
AirDrop excels when you move content between your iPhone and your Mac or iPad. The flow is similar, but device placement and settings matter.
Share to Mac
1) On your Mac, open Finder > AirDrop. Set Allow me to be discovered by to Contacts Only or Everyone for 10 Minutes.
2) On iPhone, pick the item and tap Share > AirDrop > select your Mac.
3) The file appears in Downloads, Photos, or the target app depending on type.
Share to iPad
1) On iPad, open Control Center and enable Wi Fi and Bluetooth. Set AirDrop discovery to Contacts Only or Everyone for 10 Minutes.
2) On iPhone, share the item via AirDrop and choose your iPad.
3) Accept on iPad when prompted.
Keep both devices on the same Apple ID for the smoothest experience. If not, make sure the sender and receiver are in each other’s contacts or use Everyone for 10 Minutes. With cross device sharing working, you can focus on privacy settings that keep you safe in public.
Privacy and Safety: Avoid Spam and Keep Your Info Private
Public spaces can flood you with random requests. Choose the right default and simple habits to reduce noise and risk.
- Default to Contacts Only. Switch to Everyone for 10 Minutes only when needed.
- Rename your device to something generic: Settings > General > About > Name.
- Keep your contact card accurate but minimal. Share only what you need.
- Decline unknown requests. The sender does not see your photos until you accept.
- Turn off Bringing Devices Together if you do not want proximity triggers.
- Use Screen Time to lock AirDrop for kids devices: Settings > Screen Time > Content and Privacy Restrictions.
- After sharing, set discovery back to Contacts Only or Receiving Off.
- At events, review settings before you arrive. Open Control Center to confirm AirDrop mode at a glance.
These steps keep you discoverable to the right people while avoiding interruptions and unwanted content. If AirDrop misbehaves even with careful setup, use the troubleshooting steps next.
Troubleshooting: AirDrop Will Not Turn On or Devices Do Not Show Up
If AirDrop does not appear or a device is missing, use these quick fixes in order. Most problems clear in minutes.
1) Confirm radios: In Control Center, enable Wi Fi and Bluetooth. Turn off Airplane Mode.
2) Check discovery: Set AirDrop to Contacts Only or Everyone for 10 Minutes on both devices.
3) Turn off Personal Hotspot: Settings > Personal Hotspot > Off.
4) Keep devices awake and close: Unlock both screens and place them within 30 feet or 10 meters.
5) Sign in to iCloud: Both devices should use Apple IDs. For Contacts Only, make sure the sender’s contact has your correct phone number or Apple ID email.
6) Restart radios: Toggle Wi Fi and Bluetooth off and on. Then try again.
7) Restart devices: A quick reboot clears radio glitches.
8) Update software: On iPhone, go to Settings > General > Software Update. On Mac, update macOS. Updates improve AirDrop reliability.
9) Check VPN and Low Data Mode: Disable VPN and turn off Low Data Mode for your Wi Fi or Cellular if transfers stall.
10) Reset network settings as a last resort: Settings > General > Transfer or Reset > Reset > Reset Network Settings. You will lose saved Wi Fi networks and Bluetooth pairings.
11) Review Screen Time: Make sure AirDrop is allowed in Content and Privacy Restrictions.
12) For work devices: Some MDM profiles block AirDrop. Ask your admin if it is restricted.
If none of these help, try logging out and back into iCloud, or test with a different Apple device to isolate the problem. You can also use Messages, email, or a shared iCloud link as a temporary workaround. Once AirDrop works again, you can apply a few optimizations to make it even faster.
Pro Tips: Faster, More Reliable AirDrop in 2024 to 2026
- Keep both devices on the latest iOS or macOS for better discovery and speed.
- Use Everyone for 10 Minutes for quick, one time transfers, then switch back.
- Start big transfers near your Wi Fi router to avoid interference.
- Leave the Photos app open on the receiver for faster photo acceptance.
- Turn on Use Cellular Data so long transfers can continue if you walk away.
- Clear old Bluetooth pairings you no longer use to reduce radio noise.
- Rename your devices clearly so you pick the right target quickly.
- For Mac, open Finder > AirDrop before sending to make it appear faster.
These small tweaks cut transfer time, reduce failed attempts, and keep your device secure while sharing. With speed and reliability handled, you can wrap up your setup with a quick recap.
Conclusion
You can switch on AirDrop on iPhone in seconds and keep it private. Control Center gives you a fast toggle for discovery. Settings let you fine tune who can see you and how transfers behave. With NameDrop and Bringing Devices Together, sharing feels natural when you are close.
Set Contacts Only for daily use, use Everyone for 10 Minutes when needed, and turn it off in sensitive spaces. If something goes wrong, the troubleshooting list solves most issues quickly. With a few pro tips, AirDrop becomes a reliable tool you can trust at home, at work, and on the go.
Turn AirDrop on now, try a quick photo share, and enjoy fast, cable free transfers across your iPhone, Mac, and iPad.
Frequently Asked Questions
Why can’t I see AirDrop in Control Center on my iPhone?
AirDrop hides if Wi Fi or Bluetooth is off, or if restrictions block it. Open Control Center and enable Wi Fi and Bluetooth. If the AirDrop button still does not show, go to Settings > Screen Time > Content and Privacy Restrictions > Allowed Apps and make sure AirDrop is allowed. Also check Settings > General > AirDrop; if a corporate profile manages your iPhone, your admin may disable AirDrop. Finally, restart your iPhone and update iOS to bring back missing toggles.
Does AirDrop use Wi Fi or cellular data, and does it work without internet?
AirDrop discovers devices via Bluetooth and transfers over Wi Fi. It does not need the internet or a Wi Fi network because it creates a direct, secure link between devices. With recent iOS versions, you can enable Use Cellular Data so a transfer continues if you walk out of Wi Fi range. The initial connection still forms locally; the cellular option keeps the transfer alive only when needed.
Where do AirDropped files go on iPhone and Mac?
On iPhone, photos and videos go to Photos after you accept. Documents land in the Files app, usually in Downloads or the app that can open them. Links open in the default app, often Safari. Contacts go to Contacts. On Mac, most files go to the Downloads folder. Photos may open in Preview or Photos, and links open in your default browser. If you do not see a file, check recent items in Files on iPhone or Downloads on Mac, and search by filename.