26 Sep 2026
Post by Aurorina
Introduction
A router with port forwarding lets the outside world reach selected devices and apps inside your home or office network. You might host a private game server, stream media from a NAS, or check a camera DVR while away. You can do all of this with control and speed if you forward ports safely.
This guide explains how port forwarding works in simple terms. You will learn when to use it and when you should not. You will see the router features that make forwarding easy, and the steps to set it up. You will also get fixes for common blockers, testing tips, and security best practices. The buyer’s guide and brand notes help you choose hardware that fits your goals.
We start with the core idea behind port forwarding. Once you grasp the flow of traffic, setup becomes a clear checklist.
What Is Port Forwarding and How It Works on a Router
Your router uses Network Address Translation, or NAT, to share one public IP address with many private devices. By default, NAT blocks unsolicited inbound traffic. That default keeps random internet probes from reaching your laptops, phones, and servers. Port forwarding creates a narrow exception.
A port forward is a rule that says: when the router receives traffic on a specific external port, send that traffic to a specific internal device and port. The router rewrites the destination, tracks the session, and returns replies back to the original sender. This is how a friend on the internet connects to your Minecraft server, your media library, or your smart home hub.
Most services use TCP. Some use UDP, which is common for games and streaming. A few need both protocols. You can map the same number externally and internally, or you can expose a different external port and map it to a standard internal port. That mapping gives you flexibility, and sometimes a small security benefit. The exact values depend on the app documentation.
Once you understand the mapping, you can decide whether you need it at all. The next section covers the real cases where port forwarding shines.
When You Need a Router with Port Forwarding (Use Cases)
Port forwarding serves direct, low-latency access to services you control. Common use cases include:
– Hosting a private game server for friends or a team.
– Running a media server or NAS for remote streaming and file access.
– Publishing a home lab app, dashboard, or self-hosted tool for select users.
– Reaching a security camera NVR or DVR without relying on a third-party relay.
– Managing a smart home hub or automation service while away.
If you only browse, stream from public services, or use vendor cloud apps, you do not need port forwarding. Those activities use outbound connections, which NAT allows by default. If you want direct control, lower latency, and no relays, a router with port forwarding supports that goal.
With your needs clear, you can pick the right hardware. The next section lists the features that make setup and maintenance safe and simple.
Essential Features to Look for in a Router with Port Forwarding
Not all routers handle forwarding well. Look for these features and traits:
– Clean interface: A simple page for port forwarding with obvious labels, search, and sorting. You should be able to scan rules quickly.
– Rule granularity: Choose TCP, UDP, or both. Map external to internal ports. Add a description per rule so future you knows why it exists.
– NAT loopback, also called hairpin NAT: Lets you reach your public hostname from inside your LAN. This prevents odd split behavior on phones and laptops at home.
– UPnP or NAT-PMP controls: Allow trusted apps to create temporary rules. Demand visibility, logs, prompts, or allowlists so you do not lose control.
– Schedules per rule: Turn a forward on only during the hours you need it. That reduces exposure and noise.
– Logging and alerts: Log every hit on a forwarded port. Alert on spikes and repeated attempts so you can react.
– DDNS integration: Update a hostname when your public IP changes. This keeps remote bookmarks stable.
– IPv6 firewall clarity: With IPv6, every device can have a public address. Your router should make inbound IPv6 rules as clear as IPv4 forwards.
– Rule capacity and performance: Some routers limit rule counts or slow under many connections. Confirm specs and real reviews.
– Security extras: Geo-blocking, intrusion prevention, and per-device policies help contain risk.
With the features in place, you can configure your first rule. The next section provides a clear, repeatable setup flow.
Step-by-Step Setup: How to Configure Port Forwarding on Any Router
Use this workflow on most consumer and prosumer routers. Menu names may differ, but the logic is the same.
1) Identify the service and port.
– Check the app’s documentation for default ports and supported protocols.
2) Assign a stable LAN IP to the device.
– Reserve a DHCP lease on the router for the device MAC address, or set a static IP outside the DHCP pool. Stability prevents broken rules later.
3) Update the router firmware.
– Apply the latest stable firmware. New builds fix bugs, add features, and patch security issues.
4) Secure router access first.
– Change the admin password. Use HTTPS for the admin panel. Enable multi-factor authentication if available.
5) Create the port forward rule.
– Open the port forwarding or virtual server page. Enter a name, the external port, the internal IP of the device, the internal port, and the protocol.
6) Prevent conflicts.
– Do not assign the same external port to multiple devices. If you must expose similar services on two hosts, map different external ports.
7) Save and apply changes.
– Some routers take time to commit. Wait for confirmation before testing.
8) Verify the service locally first.
– On the device, confirm the service runs and listens on the chosen port. Adjust the device firewall to allow the app.
9) Test from a network outside your LAN.
– Use mobile data or a remote machine. Connect to your public IP or your DDNS hostname with the forwarded port.
10) Document the rule.
– Note the purpose, protocol, port numbers, device name, and any time limits. This avoids confusion months later.
11) Enable NAT loopback if needed.
– If you want to use your public hostname inside your LAN, enable hairpin NAT or add a local DNS override.
12) Review logs after initial testing.
– Look for connection attempts, errors, and repeated probes. Logs confirm that forwarding works and reveal early threats.
If remote tests fail, you may face a network layer issue. The next section shows how to detect and fix the three most common blockers.
Troubleshooting: Double NAT, CGNAT, and ISP-Blocked Ports
Three conditions commonly break port forwarding. Diagnose them in this order.
- Double NAT: Two routers sit in series, both doing NAT. Symptom: your router’s WAN IP is private, such as 10.x, 172.16 to 31.x, or 192.168.x. Fixes:
- Put the ISP gateway in bridge or passthrough mode so your router gets the public IP.
- Or use your router in access point mode and let the ISP gateway route.
-
Or place your router in the ISP box DMZ to forward all ports to it. This is a quick fix but less elegant than true bridge mode.
-
CGNAT: Carrier-grade NAT at the ISP shares public IPs among many customers. Symptom: your router’s WAN IP is in 100.64.0.0/10 or similar, and inbound connections never arrive. Fixes:
- Ask for a public dynamic IP, a static IP, or a business plan.
-
Use an outbound tunnel, reverse proxy, or VPN to a public endpoint.
-
ISP-blocked ports: Some providers block common service ports like 25, 80, 443, or 445. Symptom: external tests work on some ports but fail on specific ones. Fixes:
- Map a high external port to the internal standard port.
- Request an unblock. Results vary by provider and plan.
Address these layers before changing app settings. Once the path is open, testing becomes straightforward. The next section shows reliable ways to confirm success.
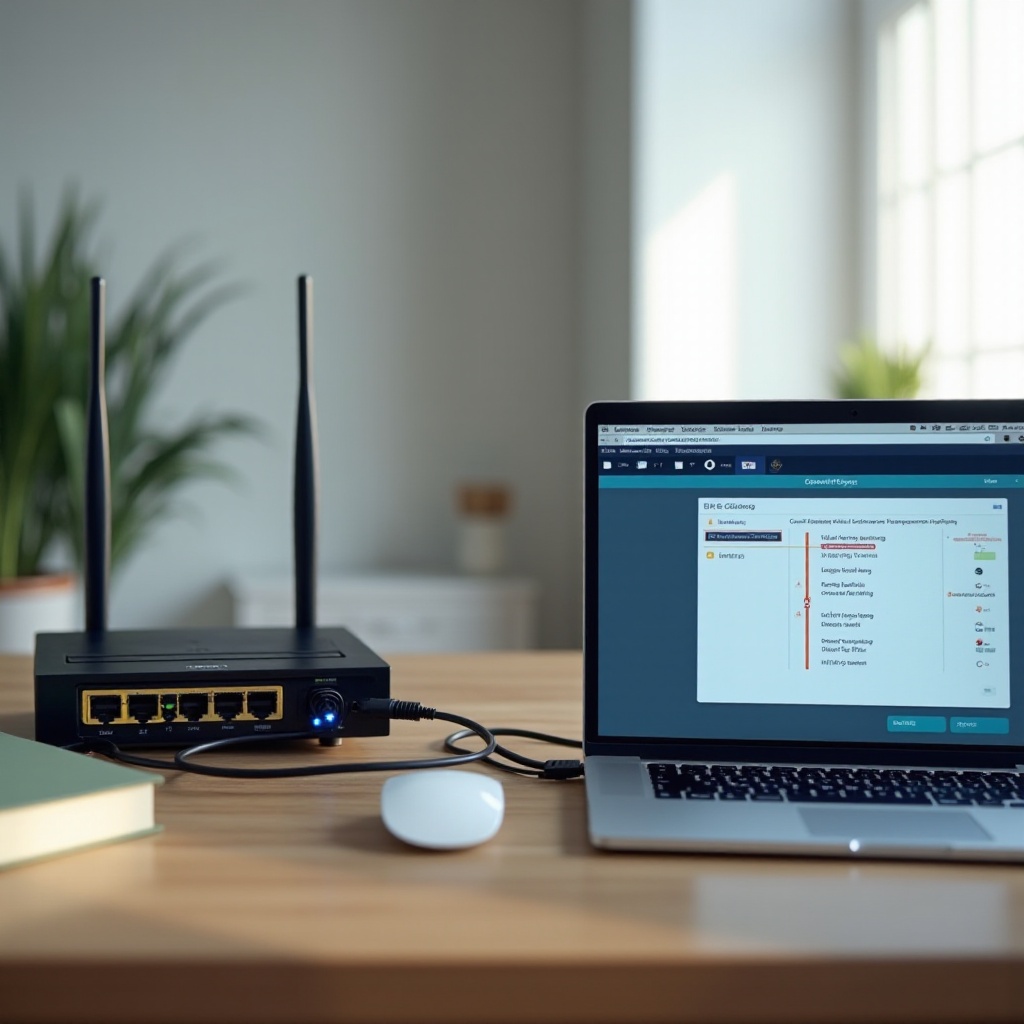
Testing and Verification: Port Checkers, Logs, and Hairpin NAT
A correct test sequence saves hours of guesswork. Follow these steps:
– Confirm the app listens locally on the device IP and port. Use system tools to list listening ports. Adjust the device firewall if blocked.
– Test from outside your network. Use mobile data, a remote host, or a trusted external port checker. Enter your public IP or DDNS name and the port number.
– Read the router logs. Look for entries that match your test attempts. If the router logs show hits but the app does not, the device firewall or app binding is wrong.
– Enable or verify hairpin NAT for internal testing using your public hostname. Without it, internal clients may fail to loop back to the service.
Once you verify traffic flow, lock down the setup. The next section details practical ways to reduce risk while keeping services reachable.
Security Best Practices for Exposed Services
Port forwarding increases your attack surface. You can take control with layered defenses:
– Minimize exposure: Forward only the ports you need. Remove stale rules. Prefer high, random external ports when the app allows it.
– Harden the service: Change default credentials. Use MFA where supported. Disable guest access and legacy ciphers.
– Limit who can connect: Use source IP allowlists on the router where possible. Consider geo-blocking to filter obvious noise.
– Tame UPnP: Turn it off entirely or restrict it to a trusted VLAN. Review logs for unexpected rules.
– Keep everything updated: Router firmware, device operating systems, and server apps need regular updates.
– Monitor and alert: Enable logging. Set alerts for repeated failed attempts. Review logs weekly to spot patterns early.
– Add a secure entry point: Prefer a VPN or an SSH jump host for administrative access. Expose one hardened service instead of many.
– Segment the network: Place exposed hosts on an isolated VLAN. Restrict lateral movement with inter-VLAN firewall rules.
If your needs grow or risks feel high, consider alternatives that avoid open inbound ports. The next section explores these options.
Smarter Alternatives to Port Forwarding (VPN, Reverse Proxy, Tunnels)
You can reach your services without exposing ports directly to the internet:
– VPN: Run WireGuard or OpenVPN on the router or a small server. Clients connect to the VPN, then reach LAN services as if they were local. One port, strong crypto, clear access control. This is ideal for admins and power users.
– Reverse proxy: Place Nginx or Traefik in front of web apps. Terminate TLS once, route requests by hostname or path, add authentication and rate limits, and log centrally. Great for multiple web apps behind one entry point.
– Hosted tunnels: Use services like Cloudflare Tunnel or similar tools. They create outbound connections from your LAN to a cloud relay. This bypasses CGNAT and strict ISPs. You gain reachability without open inbound ports.
– Vendor relays: Many cameras and IoT hubs rely on vendor clouds. They are simple to use but trade control and sometimes privacy. Consider the trust and data implications.
If you still prefer direct access, choose hardware that handles forwarding cleanly. The next section guides you through buying decisions.
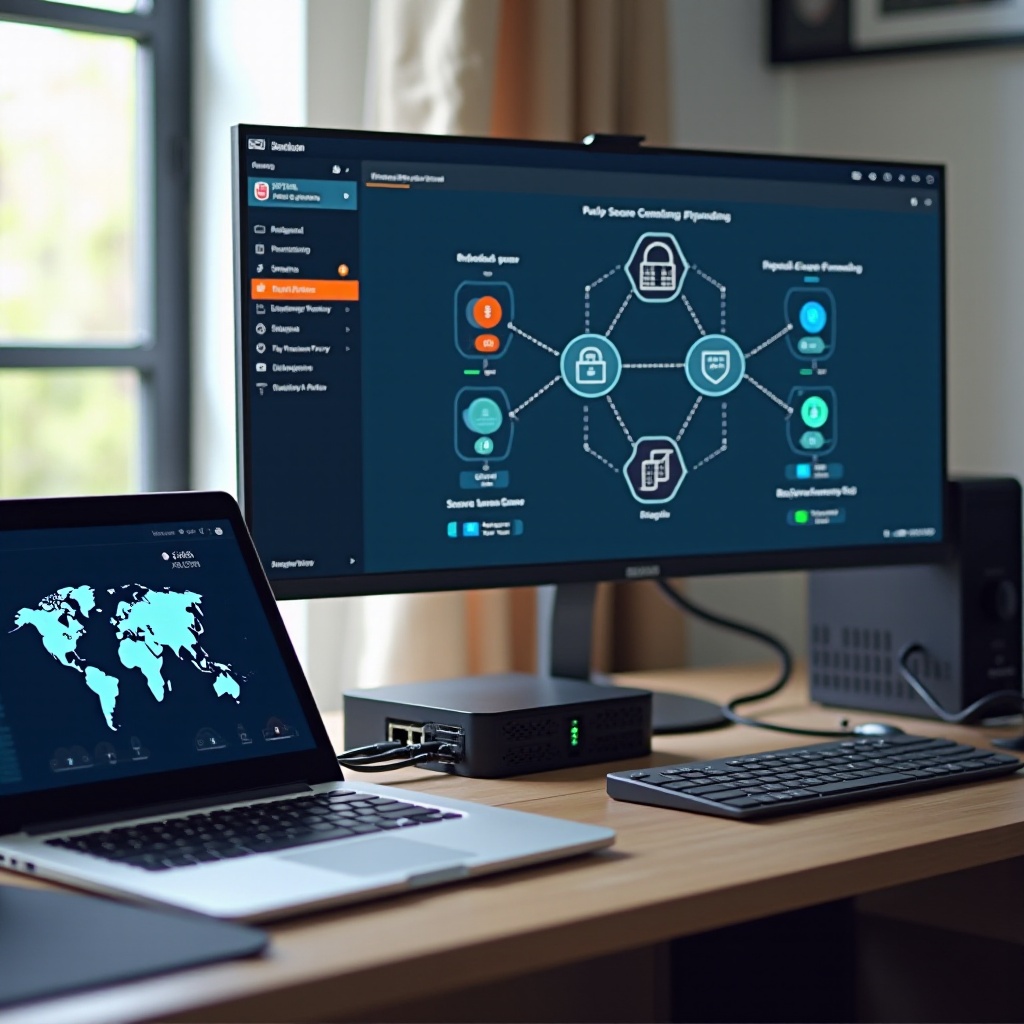
Buyer’s Guide: Choosing a Router with Strong Port Forwarding
Pick hardware that matches your skills and goals:
– Ease of use: Favor routers with straightforward rule pages, clear error messages, and conflict warnings.
– Rule capacity: Confirm the maximum number of forwards and concurrent sessions. Home labs and small offices may need many entries.
– NAT loopback and DDNS: These two features remove major headaches. Confirm they work reliably and support your DNS provider.
– Security controls: Look for per-rule schedules, source IP filters, logging, and alerting. Extra points for geo-block and intrusion prevention.
– Performance headroom: If you have fast broadband, ensure the router sustains full speed with firewall and features enabled. Check real-world tests, not only spec sheets.
– Mesh behavior: In mesh systems, verify that forwards apply network-wide and not only on the main node. Some simple meshes have limits that surprise users.
– Support and updates: Prefer vendors with frequent security updates, clear release notes, and long support windows.
– Community and docs: Good manuals, knowledge bases, and active forums cut troubleshooting time.
With a shortlist in hand, it helps to know brand tendencies. The next section shares notes to set expectations.
Brand Notes: Asus, Netgear, TP-Link, Linksys, UniFi, Eero, Nest
- Asus with AsusWRT and Merlin: Strong interfaces, built-in DDNS, solid logs, and reliable hairpin NAT. Merlin firmware adds policy routing, advanced VPN, and granular controls for power users.
- Netgear Nighthawk: Clear basic port forwarding and decent performance. Features and updates vary by model. Confirm hairpin NAT and logging on the exact unit before you buy.
- TP-Link Archer and Deco: Archer offers traditional controls, per-rule schedules, and good value. Deco favors simplicity and app-based setup; port forwarding works but options can be limited. Check hairpin NAT behavior.
- Linksys Smart Wi-Fi: Straightforward forwarding and port triggering. App-based management can be convenient. Verify remote admin uses HTTPS and supports MFA if you enable it.
- UniFi by Ubiquiti: Excellent for prosumers and small offices. Fine-grained rules, VLANs, VPNs, and strong logging. Requires a controller and has a learning curve, but scales well.
- Eero: Simple and stable mesh. Port forwarding exists, but logs and advanced options are sparse. Bridge mode with an upstream router can be a better path for complex setups.
- Nest WiFi: Easy to deploy. Forwarding is supported, but deep diagnostics and hairpin NAT controls are limited. Consider alternatives if you self-host many services.
Next, consider how IPv6 changes inbound access. The logic differs, but the security goals stay the same.
IPv6 and Port Forwarding: What Changes and What to Configure
IPv6 removes the need for NAT in most homes. Devices receive global IPv6 addresses, so you do not forward ports. Instead, you create firewall rules that allow specific inbound traffic to specific devices.
Key steps for a safe IPv6 setup:
– Enable IPv6 on the router and request a proper prefix from your ISP. Most providers hand out a delegated prefix that your router splits across subnets.
– Confirm that devices receive IPv6 addresses and can browse the web. Test reachability in both directions.
– Add inbound IPv6 firewall rules for the services you want to expose. Treat these as pinholes. Keep them as narrow as possible and log every hit.
– Avoid NAT66 unless you have a niche reason. Native routing with a proper firewall is cleaner and easier to debug.
– Apply the same hygiene as with IPv4: strong authentication, updates, rate limits, and monitoring.
To make remote access convenient across changing addresses, add dynamic DNS. The next section shows how.
Dynamic DNS (DDNS): Stable Remote Access on Changing IPs
Dynamic DNS maps a static hostname to your changing public IP. Many routers update DDNS automatically.
A quick setup plan:
– Choose a DDNS provider that your router supports natively.
– Create a hostname and link it to your account.
– Enter credentials in the router DDNS page so it can push updates when your IP changes.
– Use the hostname in apps, bookmarks, and monitoring tools. This keeps clients working even after an IP change.
– If you use IPv6, enable AAAA records. Some routers can update both A and AAAA records at once.
With addressing stable, you can rely on your setup day to day. The final section wraps up the key points.
Conclusion
A router with port forwarding gives you direct control over the services you care about. It can be fast, reliable, and safe when you pair the right features with careful setup. Use clear rules, verify from the outside, and read logs. Trim exposure to the minimum and add a secure entry point for admin access.
If your ISP setup blocks inbound traffic, do not fight it blindly. Detect double NAT or CGNAT early and pick the right fix, whether that is bridge mode, a public IP, or an outbound tunnel. When your needs grow, consider a VPN or a reverse proxy so you expose fewer services while keeping full control. Follow these practices, and your remote access will remain simple, stable, and secure.
Frequently Asked Questions
Is port forwarding safe, and how do I reduce the risks?
Port forwarding can be safe when you limit exposure and harden services. Forward only what you need. Use strong passwords and MFA. Keep firmware and apps updated. Prefer high, non-default external ports if the app allows it. Restrict source IPs or use geo-blocking where possible. Monitor logs and set alerts for repeated hits. For sensitive apps, place a VPN or reverse proxy in front so you do not expose the raw service.
Why doesn’t my port forward work even after I added the rule?
Check the service first. Confirm it listens on the device IP and port. Adjust the device firewall to allow the app. Verify the router rule uses the correct protocol and ports. Detect double NAT by checking if the router WAN IP is private; if so, use bridge, passthrough, or DMZ. Detect CGNAT by a 100.64.0.0/10 WAN IP; ask the ISP for a public IP or use a tunnel. Avoid port conflicts. Test from outside your LAN, and review router logs for hits and errors.
Do I need port forwarding if my router supports UPnP or if I use IPv6?
UPnP can create forwards automatically, which helps games and chat apps, but it trades control for convenience. Restrict UPnP to trusted devices and review its logs. With IPv6, devices can be reachable globally without NAT, but you must add IPv6 firewall rules to allow inbound traffic. The security goal remains the same: limit exposure, require authentication, and monitor. For many users, a VPN or reverse proxy is a safer, central entry point than broad inbound access.