
16 Sep 2026
Post by Aurorina
Introduction
You want your pen, mouse, or tablet to feel precise and responsive. When Windows Ink causes lag, offset, or accidental right clicks, it can slow you down. You can turn off Windows Ink safely and keep your workflow smooth. This guide shows how to disable the Windows Ink workspace, reduce inking features you do not need, and tailor settings per app. You will see quick toggles for a fast fix, deeper policy controls that stick after reboots, and driver tweaks for tablets and creative software.
We will start with definitions so you know what you are changing. Then we will move from quick actions to thorough methods in Settings, Group Policy, and the Registry. After that, you will learn tablet and game specific adjustments, Office and Whiteboard tuning, and how to manage OEM utilities that can restore Ink features. We close with automation, clean rollback steps, and troubleshooting advice so your changes remain stable.

What Windows Ink Is and Why You Might Turn It Off
Windows Ink is both a platform and a set of experiences. It includes the pen input pipeline for pressure and tilt, the Windows Ink Workspace or Pen menu, and handwriting features tied to touch and the touch keyboard. Some apps rely on the platform for pressure and stylus control, while others can use alternative APIs.
You might turn it off for a few reasons. Artists sometimes see jitter, pressure drops, or cursor offset when a tablet driver conflicts with Windows Ink. Gamers often prefer raw input, without any OS pen processing that can add latency or produce ghost clicks. Office users who do not annotate may want to remove taskbar clutter and stop the handwriting panel from popping up. IT admins may need to suppress inking features for standardized environments such as classrooms or shared labs.
Not every situation requires a full shutdown of inking. Many people only need to hide the taskbar UI and disable optional features while keeping basic pen input for apps that need it. With that context, let us start with the fastest ways to quiet Windows Ink.
Quick Answer: Fastest Ways to Turn Off Windows Ink
If you want a quick fix before a meeting or a match, try these steps and test your device.
- Windows 11: Settings > Personalization > Taskbar > System tray icons > Pen menu: set to Off. Then open Settings > Bluetooth & devices > Pen & Windows Ink and turn off optional handwriting and touch toggles you do not use.
- Windows 10: Right click the taskbar and uncheck Show Windows Ink Workspace button. Then go to Settings > Devices > Pen & Windows Ink and turn off Write in the handwriting panel with your fingertip.
- Drawing tablets: Open your tablet driver such as Wacom, Huion, or XP Pen and uncheck Use Windows Ink for the specific app profile. Test pressure and tilt.
- Admins: Apply Group Policy or a registry policy to disable the Windows Ink Workspace so it does not return after user sign in.
Those quick changes help many users. If you still see issues or the icon keeps coming back, prepare your system and move to stronger methods.
Before You Start: Check Windows 11/10 Version, Drivers, and Backups
Preparation reduces risk and speeds up recovery if you need to revert. Confirm your Windows edition in Settings > System > About. Pro and Enterprise editions allow Group Policy changes. Home users can use Settings and the Registry.
Update your pen or tablet driver from your vendor. Driver updates often fix pressure issues and latency without disabling Windows Ink. Create a restore point via System Protection so you can roll back quickly. If you plan to edit the Registry, export keys before changes. Sign in with an admin account for policy and machine wide settings.
With drivers updated and a restore point ready, start with Settings level changes. If the icon or features return on reboot, escalate to Group Policy or registry policies for a more durable solution.
Method 1: Turn Off Windows Ink Features in Settings (Windows 11/10)
Settings offers the simplest path to reduce Windows Ink impact.
Windows 11 steps:
1) Remove the Pen menu icon:
– Open Settings > Personalization > Taskbar.
– Under System tray icons, set Pen menu to Off.
2) Reduce inking and touch behavior:
– Go to Settings > Bluetooth & devices > Pen & Windows Ink.
– Turn off write with your fingertip, handwriting suggestions, and other inking toggles you do not use.
3) Stop inking and typing personalization:
– Open Settings > Privacy & security > Inking & typing personalization.
– Turn off personalize inking and typing input.
Windows 10 steps:
1) Remove the Windows Ink Workspace button:
– Right click the taskbar and uncheck Show Windows Ink Workspace button.
2) Turn off handwriting and touch inking features:
– Open Settings > Devices > Pen & Windows Ink.
– Turn off write in the handwriting panel with your fingertip and related suggestions.
These adjustments hide the UI and reduce OS processing without blocking core pen input in apps that need it. If you want a cleaner taskbar only, you can stop here. If you need more control, continue.
Method 2: Remove Windows Ink Workspace from the Taskbar
Sometimes the workspace or Pen menu icon causes accidental clicks more than functional issues. Hiding the UI removes that friction.
- Windows 11: Settings > Personalization > Taskbar > System tray icons > Pen menu: Off.
- Windows 10: Right click the taskbar and uncheck Show Windows Ink Workspace button.
This change does not disable the inking platform. It simply removes the shortcut and panel. If you also need to block the workspace from returning for new or roaming profiles, use policy based controls next.
Method 3: Disable Windows Ink Workspace via Group Policy (Pro/Enterprise)
Group Policy provides a reliable, machine wide way to block the workspace for all users.
1) Press Win+R, type gpedit.msc, and press Enter.
2) Navigate to Computer Configuration > Administrative Templates > Windows Components > Windows Ink Workspace.
3) Open the policy named Allow Windows Ink Workspace.
4) To disable the workspace, either set the policy to Disabled or set it to Enabled and choose Disable Windows Ink Workspace in Options, depending on your build.
5) Click Apply and OK. Run gpupdate /force in an elevated Command Prompt or reboot.
This policy removes the workspace and prevents users from re enabling it. It does not usually disable all pen APIs, so apps that rely on pressure can still function. If you do not have Pro or Enterprise, use a registry policy.
Method 4: Disable Windows Ink via the Registry (All Editions)
Registry policy changes mirror Group Policy on any edition, including Home. Back up your registry first.
1) Open Registry Editor as an administrator.
2) Go to HKEY_LOCAL_MACHINE\SOFTWARE\Policies\Microsoft\WindowsInkWorkspace. If the key does not exist, create it.
3) Create a DWORD value named AllowWindowsInkWorkspace and set it to 0.
4) Close Registry Editor and restart, or run gpupdate /force.
Optional per user visibility tweak:
– Go to HKEY_CURRENT_USER\Software\Microsoft\Windows\CurrentVersion\PenWorkspace and set PenWorkspaceButtonDesiredVisibility to 0 to hide the button for that user.
Registry policies are strong and survive sign outs and reboots. After setting the policy, test whether the workspace and taskbar icon remain hidden.
Method 5: Turn Off Press and Hold Right Click, Pen Flicks, and Touch Gestures
If you draw or click with a pen and see delays or unexpected context menus, disable extra pen gestures.
Press and hold to right click:
1) Open Control Panel > Hardware and Sound > Pen and Touch.
2) On the Pen Options tab, select Press and hold.
3) Click Settings and uncheck Enable press and hold for right clicking, or shorten the duration.
Pen Flicks:
1) In Pen and Touch, open the Flicks tab.
2) Uncheck Use flicks to perform common tasks.
Touch gestures that conflict with inking:
1) Open Settings > Bluetooth & devices > Pen & Windows Ink or Touch settings.
2) Turn off touch inking toggles you do not need.
These changes reduce latency and stop accidental menus while you draw or play. Next, remove handwriting surfaces you never use.
Method 6: Disable the Handwriting Panel and Touch Keyboard Ink Features
The handwriting panel can pop up when a keyboard is not attached. If you never write by hand, disable it.
Windows 11:
– Settings > Time & language > Typing > Touch keyboard: turn off handwriting components and suggestions.
– Also open Settings > Bluetooth & devices > Pen & Windows Ink and disable handwriting toggles.
Windows 10:
– Settings > Devices > Pen & Windows Ink: turn off show the handwriting panel when not in tablet mode and there is no keyboard attached.
– Turn off write in the handwriting panel with your fingertip.
This removes a common source of interruptions and prepares your device for per app tuning. Next, optimize tablets and creative apps that handle pressure and tilt.
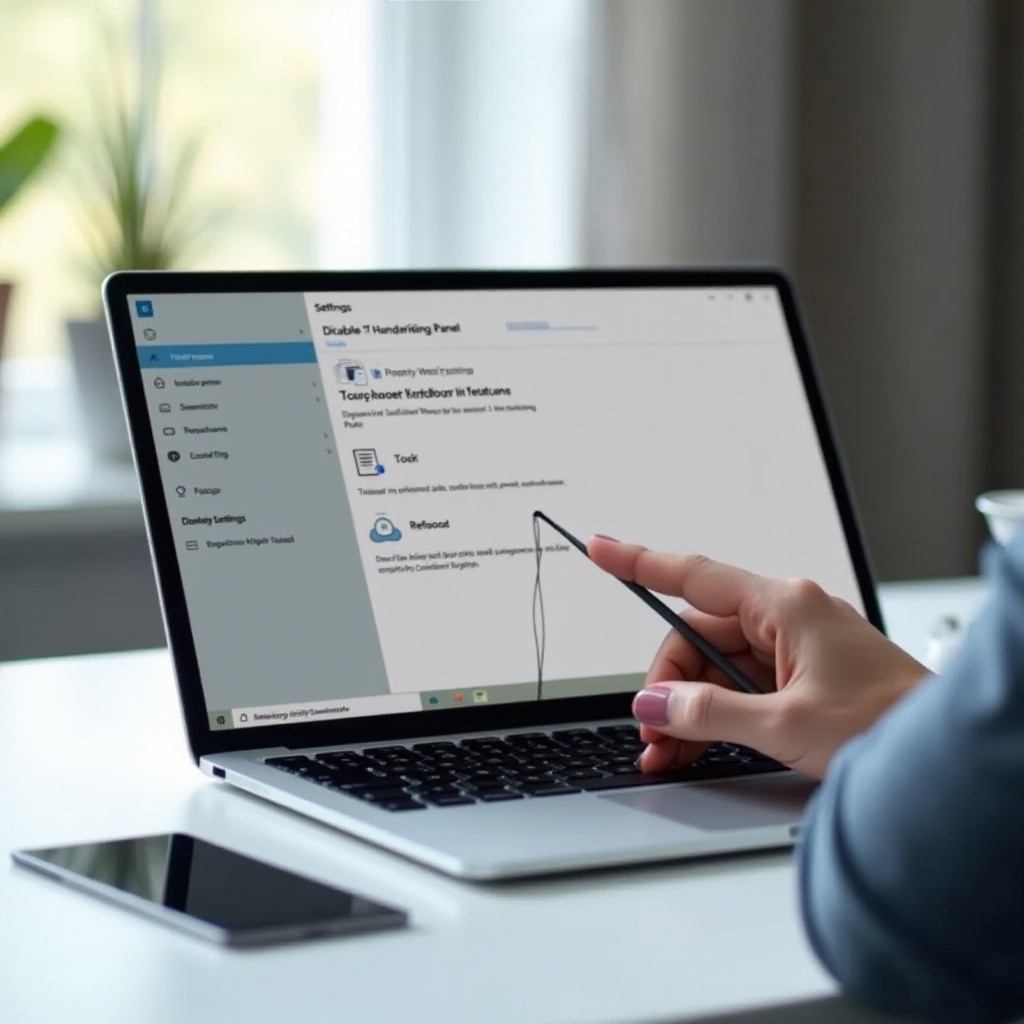
Method 7: Turn Off Windows Ink for Drawing Tablets (Wacom, Huion, XP Pen) and Creative Apps
Artists and designers need pressure and tilt that feel natural. Conflicts often arise between the tablet driver and Windows Ink. Solve this by using driver profiles and, when needed, switching to WinTab or the app native API.
Wacom steps:
1) Open Wacom Tablet Properties.
2) Choose the profile for the app you are using, such as Photoshop, Illustrator, Krita, or Clip Studio Paint.
3) Uncheck Use Windows Ink for that app.
4) If pressure stops in Photoshop, create or edit PSUserConfig.txt in the Photoshop settings folder and add the line UseSystemStylus 0 to enable WinTab. Make sure WinTab components are installed with the Wacom driver.
Huion, XP Pen, Gaomon steps:
1) Open the tablet driver utility.
2) Look for a Windows Ink toggle and set it Off for the affected app profile.
3) If supported, switch the tablet API to WinTab or driver native mode.
4) Test pressure and tilt with a simple brush and stabilize settings turned off.
Per app guidance:
– Photoshop: Prefer WinTab if Windows Ink causes jitter or offset. Use PSUserConfig.txt to enable WinTab.
– Illustrator, Krita, Clip Studio Paint: Most provide a tablet API option; choose WinTab when Windows Ink misbehaves.
– ZBrush, Blender Grease Pencil: Use the vendor driver API or WinTab and disable Windows Ink if you see lag.
Change one setting at a time and test on a blank canvas. If pressure fails after turning off Windows Ink, switch back or adjust the app API to restore pressure.
Method 8: Disable Windows Ink for Games and Competitive Titles
Games benefit from raw, low latency input. Windows Ink and tablet services can add processing that you do not want.
Tablet driver profile:
1) Create a profile for your game.
2) Disable Use Windows Ink.
3) If your driver supports a game or raw input mode, enable it.
In game settings:
1) Enable Raw Input when available.
2) Disable pointer precision or OS smoothing.
3) Recalibrate sensitivity after you change settings.
Service tweak for advanced users:
1) Open Services.
2) Find Touch Keyboard and Handwriting Panel Service.
3) Set Startup type to Manual and stop the service to keep handwriting components from loading.
Test your game thoroughly, because this service affects handwriting and some touch features system wide. If you use touch in other apps, document the change so you can restore it quickly.
Method 9: Adjust Microsoft Office and Whiteboard to Avoid Windows Ink Conflicts
Office and collaboration tools can trigger accidental ink actions if you rarely annotate. Tweak settings to reduce friction while keeping features you need.
Word, Excel, and PowerPoint:
1) Open the Draw tab.
2) Turn off Draw with Touch.
3) Choose the Select tool as the default so you do not draw by mistake.
OneNote:
1) Open File > Options > Advanced.
2) Under Pen, turn off automatic inking or set the pen to act as a mouse unless you select a drawing tool.
Microsoft Whiteboard:
1) Disable touch inking in the app settings if it interferes.
2) Keep pen inking enabled if you rely on it, and disable touch only.
These tweaks keep document editing smooth and still let you annotate when you want. If your device keeps re enabling Ink features, control the OEM utilities next.
Method 10: Surface App and OEM Utilities That Re Enable Ink — How to Control Them
OEM utilities can add overlays or restore taskbar icons after updates. Manage them so your settings persist.
Surface devices:
1) Open the Surface app and review Pen settings.
2) Disable shortcuts that launch the Pen menu or Windows Ink workspace.
3) Keep firmware updated, and recheck settings after each update.
Other OEMs such as Lenovo, HP, Dell, and ASUS:
1) Open Task Manager > Startup and Settings > Apps > Startup. Disable pen overlays and quick launch tools you do not use.
2) Review installed utilities for pen or stylus features. Uninstall them if they keep restoring the Pen menu.
3) After BIOS or driver updates, confirm the taskbar Pen menu remains off and policy keys still hold.
If a vendor tool keeps flipping your settings, reinstall it with minimal features or remove it and rely on the driver only. For fleets, move to scripts and policy enforcement.
Method 11: Script and Automate Changes with PowerShell
Automation saves time and prevents drift on shared or managed devices. Use a PowerShell script to apply registry policies and per user visibility settings.
Run PowerShell as administrator and apply a machine wide policy to disable the workspace:
– New-Item -Path ‘HKLM:\SOFTWARE\Policies\Microsoft\WindowsInkWorkspace’ -Force
– New-ItemProperty -Path ‘HKLM:\SOFTWARE\Policies\Microsoft\WindowsInkWorkspace’ -Name ‘AllowWindowsInkWorkspace’ -PropertyType DWord -Value 0 -Force
Hide the Pen workspace button per user at logon:
– New-Item -Path ‘HKCU:\Software\Microsoft\Windows\CurrentVersion\PenWorkspace’ -Force
– New-ItemProperty -Path ‘HKCU:\Software\Microsoft\Windows\CurrentVersion\PenWorkspace’ -Name ‘PenWorkspaceButtonDesiredVisibility’ -PropertyType DWord -Value 0 -Force
Refresh Explorer or log off and back on to apply UI changes. If you use Intune, deploy these commands as a remediation script or use an OMA URI to configure the Windows Ink Workspace policy. Test on a pilot device before broad rollout.
Revert Changes and Verify Pen and Touch Behavior
You may need Windows Ink for a project or class. Re enable it cleanly and test.
- Settings: Turn the Pen menu or Windows Ink Workspace button back on. Re enable handwriting and inking personalization options.
- Group Policy: Set Allow Windows Ink Workspace to Not Configured. Run gpupdate or restart.
- Registry: Change AllowWindowsInkWorkspace to 1 or delete it. Restart to apply.
- Tablet drivers: Re enable Use Windows Ink in the app profile. If you used PSUserConfig.txt to enable WinTab, remove it when you switch back.
After you revert, test pressure, tilt, hover, and cursor accuracy in your main apps. Confirm the taskbar icon and workspace return only if you expect them.
Troubleshooting: Windows Ink Will Not Stay Off
If Ink features return after updates or sign ins, find and fix the root cause.
Check policy precedence:
– Run gpresult with admin rights to see applied policies. Domain GPOs or MDM profiles can override local settings.
Inspect OEM utilities and tasks:
– Review Startup Apps and Task Scheduler for vendor pen tools. Disable or uninstall those that restore the workspace.
Stabilize services cautiously:
– If the handwriting service keeps starting, set it to Manual. Record the change and check other apps to ensure you did not break touch features.
Resolve driver conflicts:
– Disconnect the tablet. Uninstall the driver and the device from Device Manager. Reboot. Install a known stable driver and re apply per app settings.
Handle Windows updates:
– Feature updates can reset taskbar and privacy settings. After an update, re run your script or re apply key settings.
Enforce with policy or Intune:
– Use registry policies, Group Policy, or Intune to enforce settings. Schedule remediation to re apply them if they change.
When you identify the cause, apply a control that persists, such as a GPO, an Intune profile, or a startup script. This keeps your environment consistent across updates and user sessions.

Conclusion
Turning off Windows Ink ranges from a quick declutter of the taskbar to a policy backed block of the workspace. Start with Settings for a light touch, then use Group Policy or registry policies if you need changes that stick. Creative professionals and gamers can refine tablet drivers and app APIs to keep pressure and performance while stopping interference. If settings revert, manage OEM utilities, check policy sources, and automate fixes.
Use this guide to choose the smallest change that solves your problem. Test after each step, document what you altered, and keep a simple rollback plan. That approach gives you a fast, reliable setup that supports your apps and hardware without surprises.
Frequently Asked Questions
Does turning off Windows Ink disable my pen completely?
No. Disabling the Windows Ink workspace removes the workspace UI and some OS inking features. Many apps can still read pen input via their own APIs, such as WinTab.
How do I disable Windows Ink only for Photoshop or Illustrator without losing pressure?
Open your tablet driver and uncheck Use Windows Ink for those app profiles. In Photoshop, add PSUserConfig.txt with UseSystemStylus 0 to enable WinTab. Test pressure after each change.
Is it safe to disable Windows Ink via the Registry, and how do I revert?
Yes, if you back up first. Export the WindowsInkWorkspace policy key, set AllowWindowsInkWorkspace to 0 to disable, and set it to 1 or delete it to revert. Restart to apply changes.
