1 Oct 2026
Post by Aurorina
Introduction
Joining a Windows computer to your organization’s domain unlocks single sign-on, Group Policy, and centralized security. This guide explains how to join a PC to a domain on Windows 11 and Windows 10 using Settings, System Properties, PowerShell, Netdom, and Offline Domain Join. You will learn the prerequisites, the exact steps, how to verify the join, and what to do after the join to apply policies and harden the device. We will also cover remote and VPN scenarios and provide fixes for common errors. If you are an admin, you can copy the commands and use them in scripts. If you are a desk-side technician, follow the click paths and prompts. Start with a quick health check so the join works the first time. Then choose the path that fits your environment and access. Each section builds on the last, so you can move from planning to verification without gaps.

What You Need Before You Join (Prerequisites and Supported Editions)
Before you attempt a domain join, confirm that your device, account, and network meet the requirements. Failing joins often trace back to DNS or time problems, unsupported editions, or missing permissions. Doing this checklist first reduces reboots and saves time later when you apply policies.
Admin permissions you need
- Use an account that can join computers to the domain. Domain Admin works, but least privilege is better.
- If your IT team pre-stages computer objects, ensure you have join rights on that object or in the target OU.
- On the local PC, sign in as a local administrator to complete the join and perform the required restart.
Network, DNS, and time sync requirements
- Point the PC’s DNS to an Active Directory DNS server. Do not use public DNS servers for the join.
- Ensure the PC can reach a domain controller on the network or over a secure VPN path.
- Keep the system clock within five minutes of the domain controller. Configure NTP or domain time to avoid Kerberos failures.
Supported Windows editions: Pro/Enterprise/Education vs Home
- Windows Pro, Enterprise, and Education support local Active Directory domain join.
- Windows Home does not support local AD domain join. Plan to upgrade or use Azure AD join if it fits your environment.
- Decide on the device name and OU placement before you begin to keep inventory clean and policy scope correct.
The prerequisites above lead directly into the first join method. If your edition and network are ready, you can start with the built-in Settings workflow in Windows 11.
Method 1: Join a Domain from Windows Settings (Windows 11)
Windows 11 provides a straightforward join flow in the Settings app. Use this when you have console access and want a guided, modern experience. It works well for one-off joins and small batches.
Steps:
1) Open Settings > Accounts > Access work or school.
2) Select ‘Connect’, then choose ‘Join this device to a local Active Directory domain’.
3) Enter the domain name such as corp.example.com and provide credentials with join rights.
4) If prompted, pick the account type for the first domain sign-in (Administrator or Standard).
5) Restart when prompted. On the sign-in screen, select ‘Other user’ and sign in as DOMAIN\username or username@domain.
6) After first sign-in, the device will finalize trust and prepare the user profile.
If you do not see the option to join a local domain, verify your Windows edition and whether the device is already enrolled in Azure AD. When Settings is blocked by policy or you prefer the classic path, the System Properties method is a reliable alternative.
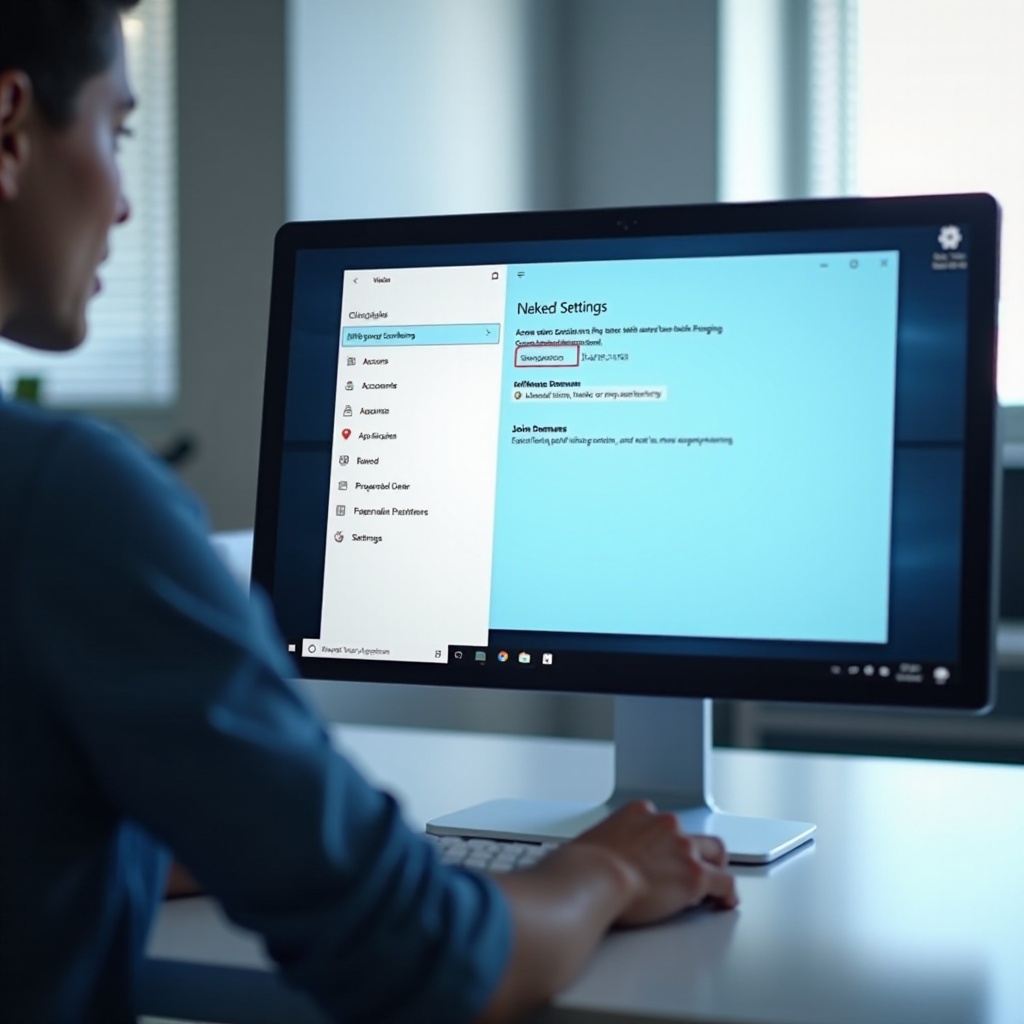
Method 2: Join via System Properties (Works on Windows 10/11)
The classic System Properties dialog works on both Windows 10 and Windows 11. Use it if Settings is restricted, you like a consistent legacy workflow, or you want to rename the device as part of the join.
Steps:
1) Press Windows+R, type sysdm.cpl, and press Enter.
2) On the Computer Name tab, select ‘Change’. Optionally rename the PC to match your naming standard.
3) Select ‘Domain’, enter corp.example.com, then select OK.
4) Enter credentials that have rights to join the domain.
5) Accept the confirmation, then restart when prompted.
6) Sign in with a domain account to complete profile setup and test access to resources.
This path is dependable and familiar to many admins. If you need to automate joins, incorporate OU placement, or target specific domain controllers, move next to the PowerShell approach.
Method 3: PowerShell Add-Computer (For Admins and Automation)
PowerShell offers repeatable, scriptable joins with logging and error handling. It is ideal for scale, remote execution, and standardizing how devices join and land in the correct OU.
Core commands (run as Administrator):
– Basic join with restart:
Add-Computer -DomainName corp.example.com -Restart
– Include credentials:
$cred = Get-Credential
Add-Computer -DomainName corp.example.com -Credential $cred -Restart
– Rename and specify an OU during the join:
Rename-Computer -NewName PC-SALES-027 -Force
Add-Computer -DomainName corp.example.com -OUPath ‘OU=Sales,OU=Workstations,DC=corp,DC=example,DC=com’ -Credential $cred -Restart
– Target a preferred domain controller or join over VPN:
Add-Computer -DomainName corp.example.com -Server dc01.corp.example.com -Credential $cred -Restart
Tips for success:
– Wrap commands in try/catch and export logs with Start-Transcript for audits.
– Validate name resolution with Resolve-DnsName and test reachability with Test-NetConnection.
– Pre-stage the computer object in the correct OU when required by policy.
If you need a command-line that also supports offline provisioning for remote builds, the next section covers Netdom and Djoin.
Method 4: Netdom and Offline Domain Join (Djoin.exe)
Netdom and Djoin are classic tools that shine in recovery, imaging, and remote-first workflows. Netdom performs online joins similar to the GUI. Djoin provisions trust data offline and applies it later on the client.
Netdom online join example:
– Join and restart:
netdom join %COMPUTERNAME% /domain:corp.example.com /userd:JoinUser /passwordd:*
shutdown /r /t 0
– Verify the join and DC discovery:
nltest /dsgetdc:corp.example.com
systeminfo | findstr /i Domain
Offline Domain Join steps:
1) On a domain-joined management server or DC, create provisioning data:
djoin /provision /domain corp.example.com /machine PC-REMOTE-015 /savefile C:\temp\odjblob.txt
2) Transfer the blob to the client securely.
3) On the client, apply the blob:
djoin /requestodj /loadfile C:\temp\odjblob.txt /windowspath C:\Windows /localos
4) Restart the device and sign in with a domain account once network is available.
Use Offline Domain Join when no domain controller is reachable during setup, such as shipping a laptop to a remote user. After the user connects to VPN, Group Policy and other services will flow. With methods in hand, choose the trust model that aligns with your identity strategy.
Local AD vs Azure AD vs Hybrid: Picking the Right Join
Selecting the right join type ensures users get the policies and apps they need without extra overhead. Your choice depends on where identities live and which tools manage devices.
- Local AD domain join: Best for environments that rely on Group Policy, on-prem file shares, line-of-business apps using Kerberos, and Configuration Manager.
- Azure AD join (Microsoft Entra ID): Best for cloud-first management with Intune, Conditional Access, passwordless sign-in, and modern provisioning such as Windows Autopilot.
- Hybrid Azure AD join: Useful when you still need on-prem Group Policy but also want cloud capabilities such as device-based Conditional Access.
Once you pick the right model and complete the join, confirm that trust works as expected. Verification is the fast way to catch issues before users notice.
Verify the Join and Device Trust
Verification proves the join succeeded and that policies can apply. A short check now prevents support tickets later and gives you confidence to hand over the device.
Do this quick validation:
– Check Settings > System > About. Confirm the device shows the correct domain.
– Sign in with a domain account. Run whoami and whoami /groups to verify identity and group membership.
– Test the secure channel in PowerShell:
Test-ComputerSecureChannel -Verbose
– Confirm the computer object exists in the right OU and inherits expected policies.
– Review Event Viewer > System for Netlogon and GroupPolicy entries.
– Inspect C:\Windows\debug
etsetup.log if the join failed or behaved unexpectedly.
With trust validated, you can apply hardening and productivity settings. That is where post-join tasks deliver the value of central management.
Post-Join Tasks and Best Practices
A successful join is only the start. Post-join tasks align the device with security baselines, deliver apps and resources, and prepare the machine for long-term management.
Recommended actions:
– Move the device into the correct OU so baseline GPOs apply and inheritance is correct.
– Run gpupdate /force, then restart to process policies, scripts, and preferences.
– Use Group Policy Restricted Groups or Group Policy Preferences to add domain groups to local Administrators and Remote Desktop Users. Favor groups over direct user assignments.
– Enroll the device into your endpoint management tool such as Intune or Configuration Manager. Confirm compliance policies and device configuration profiles apply.
– Verify mapped drives, printers, and line-of-business apps function for a sample user.
– Document hostname, OU, primary user, and asset details in your inventory system.
After hardening and validation, consider how users will connect from outside the office. Remote scenarios need special attention to DNS, routing, and domain controller reachability.
Joining Offsite or Over VPN
Remote devices often must join before they ever enter a corporate network. Proper planning reduces failures at first boot and prevents trust issues.
Guidance for remote joins:
– Use a VPN that provides access to domain controllers and AD-integrated DNS. Ensure split tunneling includes AD traffic or use full tunnel.
– Test DNS: run nslookup for the domain and SRV records, and ping a domain controller by FQDN.
– If a DC is not reachable during provisioning, use Offline Domain Join, then complete policy processing after the user connects to VPN.
– Consider Always On VPN or similar solutions so the secure channel can refresh at sign-in and on boot without manual steps.
When remote joins fail, most issues relate to DNS, time, or blocked ports. The next section shows how to diagnose and fix the most common problems quickly.
Common Errors and How to Fix Them (Troubleshooting)
Troubleshooting works best when you check fundamentals first, then dig deeper with targeted commands. Start with edition, connectivity, DNS, and time. Then look for permissions and secure channel errors.
Frequent problems and fixes:
– The domain cannot be contacted:
– Ensure the PC uses AD DNS servers and not public DNS.
– Validate SRV records: nslookup -type=SRV _ldap._tcp.dc._msdcs.corp.example.com
– Check routing and firewalls for LDAP, Kerberos, SMB, and RPC.
– Access is denied:
– Confirm your account has join rights or that the pre-staged computer object allows you to join it.
– Try different credentials or run the join under Run as different user.
– Remove or reset stale computer objects that conflict with the new device.
– Trust relationship failed after join:
– Repair the secure channel: Test-ComputerSecureChannel -Repair -Credential (Get-Credential)
– Or use netdom reset or leave and rejoin the domain.
– Recheck time sync, DNS registration, and network reachability to a domain controller.
Keep a short runbook with your findings and commands. Patterns you document here will shorten future escalations and standardize support.
How to Safely Leave a Domain (and Roll Back)
Sometimes you need to remove a device from the domain to repurpose it, sell it, or reinstall. Plan the unjoin so you do not lock yourself out or lose needed data.
Safe unjoin procedure:
1) Ensure a local administrator account exists and that you know the password. Test sign-in.
2) Open System Properties (sysdm.cpl) or Settings, and switch from Domain to a Workgroup such as WORKGROUP.
3) Provide domain credentials when prompted to remove the device from the domain, then restart.
4) Sign in with the local admin account. Verify services and local apps load correctly.
5) Migrate or archive required user data from local profiles before wiping or redeploying.
6) Rename the device if it will be reused outside the domain to avoid name conflicts later.
With a clean unjoin, you can rebuild or repurpose the device without lingering trust objects or orphaned profiles.

Conclusion
You have multiple reliable ways to join a PC to a domain: Settings, System Properties, PowerShell, Netdom, and Offline Domain Join. Choose the method that matches your tools, scale, and network access. Validate trust, place the device in the right OU, and apply policies for security and productivity. For remote users, plan VPN reachability or use offline provisioning to avoid stalls. When issues arise, start with DNS and time, then fix permissions and repair the secure channel. With these steps and commands, you can deliver consistent, secure joins that hold up under day-to-day operations.
Frequently Asked Questions
Can I join Windows Home to a domain?
Windows Home does not support local Active Directory domain join. Upgrade to Pro, Enterprise, or Education, or consider Azure AD join if cloud management with Intune fits your needs.
Do I need VPN to join a remote PC to a domain?
You need secure connectivity to a domain controller and AD-integrated DNS. A VPN is the common solution. Without VPN at build time, use Offline Domain Join and complete policy setup after the user connects.
What is the difference between domain join and Azure AD join?
Domain join connects to on-prem Active Directory for Group Policy and Kerberos. Azure AD join connects to Microsoft Entra ID for cloud-first management with Intune and Conditional Access. Hybrid combines both.