15 Nov 2026
Post by Aurorina
Introduction
Dust, fingerprints, and software clutter slow a computer and raise temperatures. Heat strains parts and shortens lifespan. Dirt in vents and fans causes noise and throttling. Bloatware and background apps waste memory and CPU. The fix is simple when you follow a plan.
This guide shows how to clean a computer inside and out. You will learn the safe tools to use, how to handle screens and keyboards, how to open and dust a desktop, and how to tune software. Follow the steps in order. Start with safety, then clean the exterior, then the interior, and finish with a digital tune up. You will protect your data, restore cooling, and regain speed. With the goal clear, set up a safe workspace and back up your files before you touch any hardware.
Safety First: Prep, Backup, Power Down, and ESD Basics
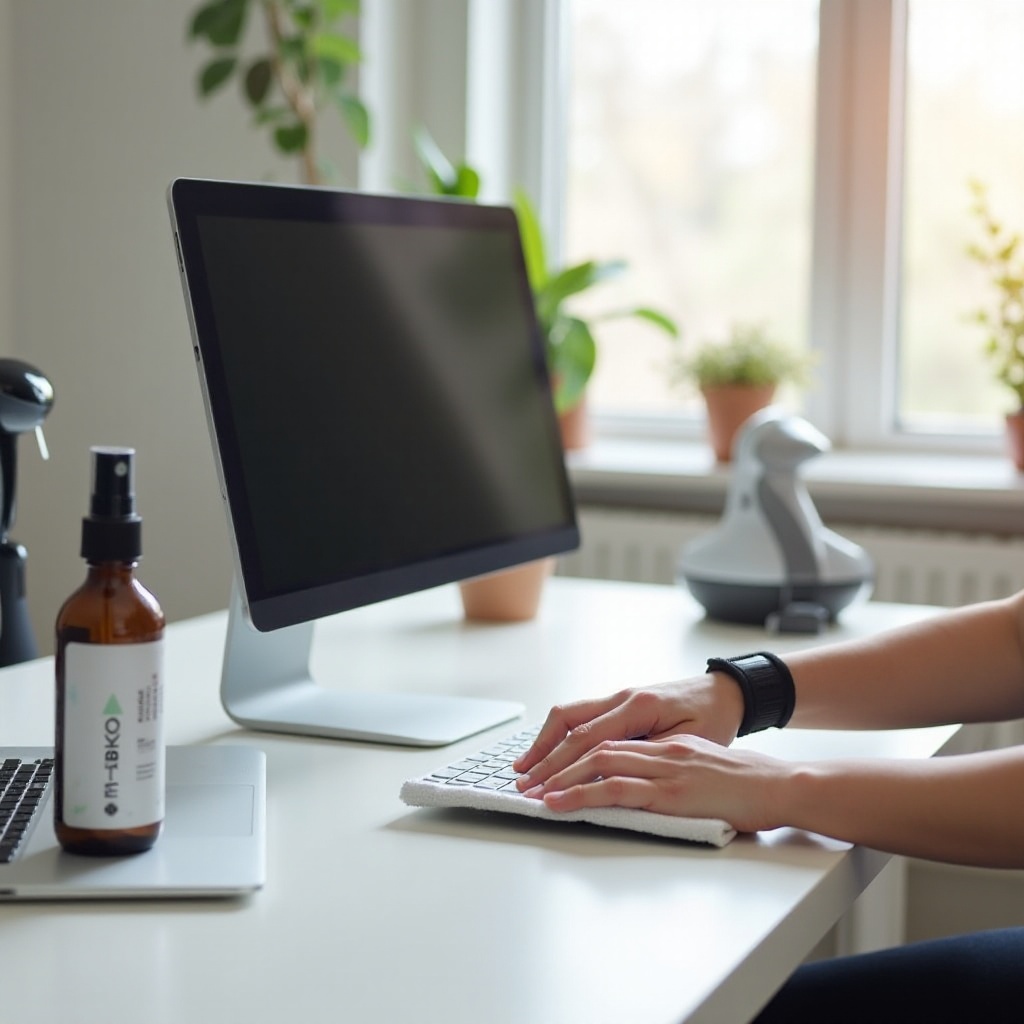
Safety prevents avoidable damage. Begin by protecting your files.
- Back up important data to an external drive or a trusted cloud service. Windows users can use File History or OneDrive. Mac users can use Time Machine.
- Shut down the computer. Unplug the power cable. Disconnect all peripherals. If your laptop has a removable battery, take it out.
- Control static. Work on a hard table, not on carpet. Touch bare metal on the case to discharge static. Use an antistatic wrist strap if you have one. Avoid wool clothing.
- Prepare the workspace. Use good light and a clean, dry surface. Keep drinks away. Set a parts tray or small containers for screws.
- Check warranty terms. Many laptops are sealed. If you are unsure, limit cleaning to the exterior and vents.
Once you have a safe environment, gather the right tools so you do not scratch finishes or push liquid where it does not belong.
Tools and Supplies You Actually Need (and What to Avoid)
You do not need fancy gadgets. Use simple, proven supplies.
- Microfiber cloths for screens and cases. They do not scratch or shed.
- 70 percent isopropyl alcohol for disinfecting plastic and metal surfaces. Use sparingly.
- Distilled water for gentle cleaning. Mix 1 to 1 with isopropyl for wipes.
- Compressed air or an electric blower. Use short bursts. Hold fans so they do not spin.
- Soft anti static brushes for tight areas and dust in fins.
- Cotton swabs and wooden toothpicks for ports and crevices. Be gentle.
- Screwdrivers, usually Phillips and sometimes Torx, for desktops and some laptops.
- Quality thermal paste if you plan to refresh a hot CPU. Optional.
- Nitrile gloves to reduce fingerprints and keep hands clean.
Avoid harsh chemicals and risky tools. Do not use household glass cleaners on screens, bleach, ammonia, or vinegar on electronics, paper towels that can scratch, vacuums that generate static, or wet sprays directly on the device. With the kit ready, start with the exterior so you do not push dirt inward while you work.
Exterior Cleaning: Case, Screen, Keyboard, Mouse, and Ports
Clean the outside first. You remove loose grit and make handling safer.
- Case panels: Wipe with a slightly damp microfiber cloth. Dry with a second cloth. For sticky marks, use a mix of distilled water and isopropyl on the cloth. Do not spray onto the case.
- Screen care: Power off the display. Lift dust with a dry microfiber. For smudges, lightly dampen the cloth with distilled water and wipe with gentle strokes. Avoid pressure. Many coated screens dislike alcohol. If your Mac has nano texture glass, use the official cloth only.
- Keyboard: Turn the keyboard upside down and tap gently. Use short bursts of air between keys. Wipe keycaps with a cloth dampened with 70 percent isopropyl. Do not let liquid drip under the keys.
- Mouse and trackpad: Clean surfaces with a cloth dampened with 70 percent isopropyl. Wipe the mouse sensor window with a dry microfiber.
- Ports: Clear dust with a soft brush or short air bursts. A wooden toothpick can lift lint from USB C edges. Do not push metal tools inside ports.
With the exterior clean, treat laptops with extra care. Their screens and ventilation demand a light touch.
How to Clean a Laptop Safely: Screen Care, Keyboard, Trackpad, Vents, and Ports
Laptops pack parts tightly. Use minimal liquid and gentle pressure.
- Screen types: For LCD or OLED, start with a dry microfiber. For smudges, use distilled water on the cloth. Check the manufacturer guide before using alcohol. For nano texture finishes, follow the vendor instructions only.
- Keyboard and trackpad: Blow crumbs away with short, upright bursts. Wipe keys and the trackpad with a cloth dampened with 70 percent isopropyl. Dry right away. If a key sticks, remove debris around it with a toothpick and a soft brush. Do not pry off keycaps unless the model supports it.
- Vents and fans: Aim compressed air at vents with short pulses. Do not let fans spin freely, as this can damage bearings. Insert a plastic toothpick through the grill to stop the fan if possible, or pulse at an angle. If your laptop allows bottom panel removal, remove it carefully to access fans and filters.
- Ports and speakers: Use a soft brush to lift dust. Avoid liquid near speaker grilles.
If you use a desktop, the next step is opening the case. This is where you remove the dust that blocks airflow and traps heat.
Opening the Case: Desktop PC Interior Cleaning Step-by-Step
Interior dust harms cooling more than surface dirt. Work slowly and stay organized.
1) Shut down, unplug, and press the power button for a few seconds to discharge residual power.
2) Move the case to your workspace. Remove the side panel. Most cases use two rear screws.
3) Ground yourself by touching bare metal on the case. Wear an antistatic strap if you have one.
4) Identify components: intake fans at the front or bottom, exhaust fans at the rear or top, CPU cooler, GPU, power supply, dust filters, and cable paths.
5) Remove large dust clumps with a soft brush. Hold a vacuum nozzle nearby to catch airborne dust, but do not touch components with the vacuum.
6) Hold each fan still while you blow air through the blades and frames. Prevent overspin to protect bearings.
7) Remove and clean dust filters. Wash with warm water. Dry fully before reinstalling.
8) Note cables that block airflow. You will tidy them later.
With loose dust and panels handled, focus on cooling parts. Clean fins, fans, and filters to restore steady airflow.
Dust Removal: Fans, Heatsinks, Filters, PSU, and GPU Best Practices
Better airflow reduces temperature and noise. Clean methodically.
- Case fans: Blow air from both sides while holding the blades steady. Brush off grime. Tighten loose screws to remove rattles.
- CPU cooler: For air coolers, blow through the fin stack from the opposite side of the fan to push dust out. Use a soft brush to lift packed dust. For liquid coolers, clean radiator fins with short air bursts and light brushing. Do not kink tubes.
- Heatsinks: Dust lodges in fin gaps. Blow from back to front. If dust cakes, remove the fan to reach tight fins. Avoid bending the metal.
- GPU: Blow through the shroud and heatsink while holding fans still. Aim air around edges if a backplate blocks direct access. Do not open the card unless you are confident and accept the risk.
- PSU: Do not open the power supply. Blow air through intake and exhaust grilles while the unit is unplugged. Use short bursts only.
- Filters: Reinstall dust filters when they are bone dry. Ensure they sit flat and secure.
After restoring airflow, two optional tasks can further improve cooling and make future cleaning easier.
Optional Upgrades: Thermal Paste Refresh and Cable Management for Airflow
You can skip these upgrades, but they help if temperatures stay high or cables block flow.
- Thermal paste refresh: If your CPU runs hot, replace old paste. Remove the cooler, clean the CPU and cooler base with isopropyl and a lint free cloth, apply a small pea sized dot of quality paste, and reinstall the cooler evenly. Do not over tighten.
- Cable management: Route cables away from fans and heatsinks. Use Velcro straps or zip ties. Create a clear front to back airflow path. A tidy case collects less dust and is easier to clean next time.
With hardware refreshed, switch to digital cleanup. Remove junk files and rein in background tasks so the system feels snappy again.
Digital Cleanup: Storage, Temp Files, Startup Items, and Uninstalling Bloat
A tidy system drive speeds up boots and app launches. Use built in tools when possible.
- Storage: On Windows, open Storage Sense to clear temp files and old downloads. On macOS, use Storage Management to review large files, unused apps, and old backups.
- Temp files: Use Disk Cleanup or Storage Sense on Windows. On macOS, let the OS manage caches, or clear app caches only for tools you trust. Avoid random cleaner apps that claim miracles.
- Startup items: In Windows, open Task Manager, then Startup. Disable apps you do not need at boot. In macOS, open System Settings, General, Login Items, and remove or disable entries you do not use.
- Uninstall bloat: Remove trialware, duplicate utilities, and software you do not use. On Windows, go to Apps and Features. On macOS, delete apps and remove leftover support files if needed.
After clearing waste, focus on security. Malware and adware act like clutter and can sabotage performance.

Security Sweep: Malware, Adware, Browser Hygiene, and Safe Utilities
Security hygiene prevents pop ups, hijacked searches, and CPU spikes.
- Malware scan: On Windows, run Microsoft Defender and consider a second opinion scan with a trusted tool like Malwarebytes. On macOS, rely on built in protections and add a reputable scanner if adware appears.
- Browser hygiene: Clear cookies, cached files, and site data. Remove extensions you do not recognize. Disable extensions you rarely use. Reset the homepage and search engine if hijacked.
- PUPs and scareware: Uninstall so called optimizer apps that show fake errors. Avoid driver update tools that are not from your device vendor.
- Real time protection: Keep Windows Defender active. On macOS, keep Gatekeeper enabled.
With security tight, finish the tune up with updates. Fresh code improves stability, compatibility, and performance.
Update Roundup: OS, Drivers, BIOS/UEFI, and Firmware for Stability
Updates fix bugs and close security holes. Apply them with care.
- OS updates: On Windows, open Settings, Windows Update, and install pending updates. On macOS, open System Settings, General, Software Update. Back up first.
- Drivers: Update GPU drivers from NVIDIA, AMD, or Intel. For chipsets, audio, and network, check your motherboard or laptop vendor. Avoid third party driver sites.
- BIOS or UEFI: If you have stability issues, check your motherboard support page. Follow the vendor steps exactly. Never power off during a flash.
- Firmware: Update SSD and peripheral firmware using vendor tools. Close apps before flashing.
Once updates complete, confirm that your work paid off. Use quick checks to verify cooling and performance.
Post-Clean Checks: Temperatures, Noise, Benchmarks, and Monitoring
Measure results so you know the system runs as it should.
- Temperatures: On Windows, use HWMonitor or HWiNFO. On macOS, use iStat Menus or Macs Fan Control. Track CPU and GPU temps at idle and under load.
- Noise and vibration: Listen for fan rub or panel rattle. Tighten screws and reseat panels. Adjust fan curves in BIOS or with vendor tools to balance cooling and noise.
- Benchmarks: Run a light test or a familiar game. Look for smoother performance and lower temps. Briefly stress test with Cinebench for CPU or 3DMark and Unigine for GPU.
- Monitoring: Keep a small widget or tray app to watch temps and fan speeds over time.
You have a baseline for good health now. Protect it by avoiding common cleaning mistakes.
What Not to Do: Common Cleaning Mistakes to Avoid
A few bad habits cause most damage. Avoid them and your hardware stays safe.
- Do not spray cleaner directly on screens or hardware. Apply to a cloth first.
- Do not use bleach, ammonia, or vinegar on electronics. They damage coatings and plastics.
- Do not let fans spin under compressed air. Hold them still every time.
- Do not use a household vacuum on components. Static can harm parts, and suction can pull small pieces loose.
- Do not flood keyboards or ports with liquid. Use minimal moisture and dry fast.
- Do not open the power supply or a sealed GPU unless you accept the risk and know the steps.
- Do not install dubious PC cleaners that promise magic. They often add problems.
Most issues never appear when you follow a simple routine. Schedule light care and occasional deep cleaning.
Maintenance Schedule: Weekly, Monthly, and Seasonal Checklist
A small habit keeps systems cool, quiet, and fast.
- Weekly: Wipe fingerprints from the screen and chassis. Empty the Recycle Bin or Trash. Close unused apps. Check free space and quit heavy background tasks.
- Monthly: Blow dust from vents and filters. Review Startup items and browser extensions. Install OS and app updates. Run a malware scan and remove adware.
- Seasonal, every three to four months: Open the desktop case. Clean fans, heatsinks, and filters. Re route cables that block airflow. Check thermal paste every one to two years or if temperatures rise. For laptops, clear vents and consider a professional interior clean if the chassis is sealed.
- Environment: Keep the room clean. Elevate the case off carpet. Use intake filters on dusty floors. Store laptops in sleeves and keep food away from keyboards.
With a routine in place, cleaning becomes quick and easy. Finish with a short reminder and start your next cycle with confidence.
Conclusion
Cleaning a computer is straightforward when you follow a clear plan. Start safe and protect your data. Use the right tools. Clean the exterior, then the interior. Hold fans still and clear heatsinks and filters. Tidy files, trim startup items, scan for malware, and apply updates. You lower temperatures, cut noise, prevent crashes, and regain speed.
Set a schedule and stick to it. If a task feels risky, stop and ask a professional. Most work needs only a cloth, air, and patience. Now you know how to clean a computer properly and keep it running like new for years to come.
Frequently Asked Questions
Can I use alcohol or disinfecting wipes on my computer?
Use 70 percent isopropyl alcohol on hard, non porous surfaces like keyboards, mice, and plastic cases. Apply it to a microfiber cloth, not directly on the device. Avoid alcohol on most screens, especially coated displays and nano texture glass. Disinfecting wipes are fine for plastic if they are not overly wet. Power down first and dry surfaces right away.
How often should I clean the inside of my PC?
Clean the interior every three to four months in most homes. If you have pets, smoke, or carpet, increase the frequency. Watch idle temperatures and fan noise. If temps creep up or fans get louder, open the case and clear fins and filters. Monthly exterior wiping and vent dusting help extend the time between deep cleans.
Is compressed air safe for laptop fans?
Yes, when used carefully. Keep bursts short and hold the can upright. Do not let fans spin freely under air; stop them with a plastic toothpick through the grill or pulse the air at an angle. Never blow liquid propellant into the vent. If the bottom panel is serviceable, remove it and hold the fan with a finger while you clean. Always power down and unplug first.