5 Nov 2026
Post by Aurorina
Introduction
Adding a new device seems easy until a printer vanishes, a share will not open, or Wi‑Fi drops. This guide shows you how to add computers to a network the right way. You get clear steps for Windows, macOS, and Linux. You also set smart defaults that keep your files safe and your connection fast.
We start with a short checklist, then help you choose between Ethernet and Wi‑Fi. Next, you learn how IP addresses work and how to prepare your router for new devices. After that, we walk through adding each operating system. You also learn to name devices, share files and printers safely, connect to a NAS, test your network, and fix common problems.
Each section builds on the last, so follow the order when possible. If you are in a hurry, jump to the OS you need and then return to security and testing. Let us get your devices online, stable, and secure.

What You Will Need Before You Start
Before you learn how to add computers to a network, gather a few basics. This speeds up setup and prevents backtracking later.
Router or switch, access credentials, and admin login
Have your router or managed switch IP address, admin username, and password ready. You will use these to check DHCP, Wi‑Fi, and security settings. If your ISP provided the router, confirm you can sign in to its web interface or mobile app.
Network cables, Wi‑Fi password, and device drivers
Keep at least one known‑good Ethernet cable nearby. Verify your Wi‑Fi network name and passphrase. Update or download network drivers, especially for a fresh Windows install or older adapters.
Account permissions and backup plan
Use an account with local admin rights if you need to change adapters or install drivers. Back up key files before network changes. A quick restore point or Time Machine snapshot can save time if something breaks.
This checklist sets you up for a smooth start. With basics in hand, the next choice is connection type.
Choose Wired vs. Wireless
You now have what you need. Next, pick the best way to connect each computer. The choice affects speed, reliability, and security.
When to use Ethernet for reliability and speed
Use Ethernet for desktops, media work, gaming, or large backups. You get lower latency, stable throughput, and less interference. When possible, connect critical machines to a gigabit or faster switch and run short, high‑quality cables.
When Wi‑Fi makes sense and how to optimize it
Use Wi‑Fi for laptops and devices that move. Improve performance by:
– Placing the access point centrally and elevated
– Avoiding thick walls and metal objects
– Keeping firmware current
– Reducing device crowding on a single access point
2.4 GHz vs. 5 GHz vs. 6 GHz considerations
- 2.4 GHz: Best range, most interference, lowest speeds
- 5 GHz: Faster, less interference, shorter range
- 6 GHz: Very fast, clean spectrum, short range
If your devices support Wi‑Fi 6 or 6E, prefer 5 GHz or 6 GHz for speed and stability.
With the connection method selected, you need a plan for IP addresses.
Understand IP Addressing: DHCP vs. Static and IPv4 or IPv6
With a connection method chosen, decide how the computer gets its IP address.
How DHCP works and why it is the default
DHCP automatically assigns IP addresses, a gateway, DNS, and lease times. It is plug‑and‑play for most homes and small offices. Use it for laptops and desktops that do not host services.
When to assign a static IP and pitfalls to avoid
Assign static IPs only to servers, printers, or devices that must be found at a fixed address. Avoid conflicts by picking addresses outside the DHCP range or by using DHCP reservations that bind IPs to MAC addresses.
IPv4 vs. IPv6 basics for home and small office
IPv4 is still dominant on local networks. Many routers also hand out IPv6 addresses. Enable both if your ISP supports IPv6, but keep your internal naming and sharing plans IPv4‑friendly for older devices.
Once you understand addressing, prepare your router or switch to accept new devices cleanly.
Prepare Your Router or Switch for New Devices
Before you connect computers, tune your network core. Small changes here prevent big problems later.
Update firmware and change default admin credentials
Check for firmware updates on your router or switch. Apply them during a maintenance window. Change default admin usernames and passwords. Store credentials in a secure password manager.
Configure SSID, WPA3, and disable WPS
Use a clear SSID name that does not reveal your identity. Enable WPA3‑Personal if supported; otherwise, use strong WPA2‑AES. Turn off WPS to reduce risk. Use separate SSIDs for main, guest, and IoT if available.
Set DHCP range, DNS, and create DHCP reservations
Define a DHCP scope large enough for all devices. Set your preferred DNS, whether router, ISP, or public DNS. For key machines, create DHCP reservations so they always get the same IP without static configs.
With the network ready, you can add each operating system with fewer surprises.
Add a Windows PC to Your Network
Your network is ready. Now add Windows. Start with the physical or wireless connection, then set the device name and sharing.
Connect over Wi‑Fi: find SSID, enter passphrase, verify
1) Select the Wi‑Fi icon on the taskbar. 2) Choose your SSID. 3) Enter the passphrase. 4) When prompted, select the Private network option so discovery and sharing work on trusted networks. 5) Open Settings > Network and Internet to confirm status shows Connected.
Connect over Ethernet: link lights, adapter settings
1) Plug in the cable until it clicks. 2) Confirm link lights on the network adapter and switch. 3) Open Settings > Network and Internet > Ethernet and ensure the adapter is enabled and set to Automatic via DHCP. 4) Test internet access in a browser.
Set device name, workgroup or domain, and network profile
Open Settings > System > About and rename the PC. Use a clear hostname, for example WS‑LISA‑LAP. For home and small office sharing, keep the default WORKGROUP. In corporate settings, join the domain or Entra ID as directed.
Enable file and printer sharing safely
Open Control Panel > Network and Sharing Center > Advanced sharing settings. Turn on network discovery and file and printer sharing for Private networks only. Share folders via Properties > Sharing > Advanced Sharing, and limit permissions to named users.
With Windows online, macOS follows a similar pattern with a few platform differences.
Add a macOS Computer to Your Network
Windows is connected. Mac setup is similar. You will pick Wi‑Fi or Ethernet, then set sharing with secure defaults.
Wi‑Fi setup and preferred network order
1) Click the Wi‑Fi menu and select your SSID. 2) Enter the passphrase and verify connection. 3) Open System Settings > Wi‑Fi > Details and confirm Auto‑Join. 4) Move trusted networks to the top of the list for reliability.
Ethernet setup and service priority
1) Plug the Ethernet cable in and check the green status in System Settings > Network. 2) If both Wi‑Fi and Ethernet are active, set service order so Ethernet comes first for stability when docked.
Create a Network Location for home or office profiles
Use Locations to switch DNS, proxies, or service priority between home and office. Create a new Location, apply settings, and test. This avoids constant manual tweaks.
Enable SMB file sharing and permissions
Go to System Settings > General > Sharing. Enable File Sharing, open options, and turn on SMB. Add specific users with Read or Write access where needed. Avoid enabling guest access on private networks.
Linux offers flexible tools and requires careful choices. The next section shows both graphical and command methods.
Add a Linux Computer to Your Network
Mac is done. Linux offers several paths. Use NetworkManager for simplicity or the terminal for precise control.
NetworkManager GUI connection and auto‑connect
1) Open your network settings. 2) Select Wi‑Fi, choose the SSID, and enter the passphrase. 3) For Ethernet, ensure the connection is set to Automatic via DHCP. 4) Enable Connect automatically so the link persists after reboot.
Configure via terminal with nmcli
Use nmcli for fast, repeatable setup. Example: nmcli dev wifi connect SSID password ‘passphrase’ ifname wlan0. Check status with nmcli con show. For Ethernet: nmcli con add type ethernet ifname eth0 autoconnect yes.
Assign a static IP with Netplan or systemd‑networkd
For servers, create a Netplan YAML with address, gateway, and DNS. Apply with sudo netplan apply. In systemd‑networkd setups, edit .network files for static settings. Keep static ranges outside the DHCP scope.
Enable and secure Samba if needed
Install Samba for cross‑platform shares. Create users with smbpasswd, share only specific folders, and restrict hosts if required. Keep your firewall open only for the LAN and block guest access.
Now that every OS can connect, bring order to your environment with clear names and labels.
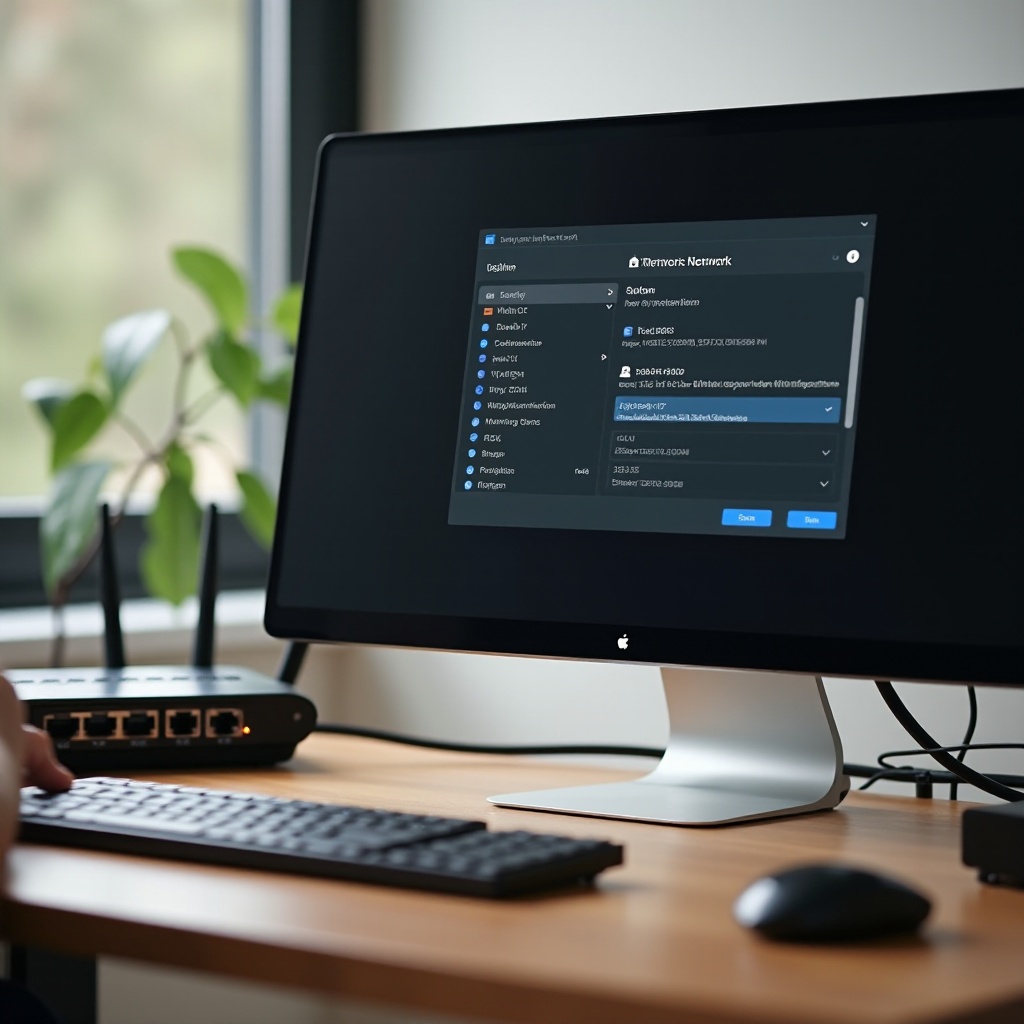
Name and Organize Devices for Easy Management
All three operating systems can now connect. Keep everything tidy so you can find devices fast and avoid confusion later.
Consistent naming conventions
Use a simple, consistent pattern: ROLE‑USER‑SITE, for example WS‑JIM‑HOME or MBP‑SARA‑OFF. Avoid spaces and special characters. Document names when you create them.
Labels and documentation for quick identification
Add a physical label or asset tag. Record MAC, IP, OS version, and owner in a shared note or spreadsheet. Clear labels help when you replace routers, move desks, or troubleshoot.
With names set, you can share files and printers without chaos.
Share Files and Printers Safely Across the Network
Naming is set. Now make resources available while keeping risks low.
Windows SMB shares, NTFS permissions, and firewall rules
Share the smallest scope possible. Grant access to named users or groups, not Everyone. Use NTFS permissions for fine control. In Windows Defender Firewall, allow File and Printer Sharing on Private networks only.
macOS sharing, user accounts, and guest access
On macOS, keep sharing limited to specific users. Turn off guest sharing. If you need temporary access, create a restricted user and remove it later. Log access attempts in Console when you diagnose failures.
Cross‑platform tips: SMB vs. AFP and credential caching
Use SMB for Windows, macOS, and Linux interoperability. Store credentials in each OS keychain or credential manager. Avoid mapping shares with different usernames on the same machine to prevent conflicts.
Shared resources often lead to central storage. A NAS makes that simple.
Connect to NAS and Map Network Drives
Once shares work between computers, connect to a NAS for central storage and backups.
Windows: Map a drive, persistent reconnect, and UNC paths
1) Open File Explorer. 2) Right‑click This PC and select Map network drive. 3) Enter a UNC path such as double‑backslash nas backslash projects. 4) Check Reconnect at sign‑in. 5) Use different credentials only when necessary.
macOS: Connect to server and add to Login Items
1) In Finder, press Command plus K. 2) Enter smb://nas/projects. 3) Authenticate and mount. 4) Add the share to Login Items to auto‑mount when you sign in.
Linux: Mount via fstab or systemd mounts
Use the Files app to test the share. For permanent mounts, add a line to /etc/fstab with cifs options and a credentials file, or create a systemd .mount unit. Keep credentials readable only by root.
Before declaring success, run quick tests to verify reachability and performance.
Verify Connectivity and Performance
After mapping, confirm the computer can reach the network and resolve names. Quick tests save hours later.
Ping, traceroute, and ARP to confirm presence
Ping your router and another LAN device. Use traceroute or tracert to see the path to the internet. Check the ARP table to confirm the device MAC and IP pairing when you suspect conflicts.
Test DNS with nslookup or dig
Resolve a local hostname and a public domain. If resolution fails, check your DNS settings on the client and router. Confirm that the DNS server IP is reachable and responsive.
Run speed and Wi‑Fi quality checks
Use a trusted speed test at different times of day. Check Wi‑Fi signal strength near the workstation. If speeds vary, adjust access point placement or switch channels to reduce interference.
Stable and fast is great, but you still need to lock down devices and the network.

Secure the New Device and Network
Connectivity is not the end. Lock down the device and the network to reduce risk.
Update OS, drivers, and firmware first
Install OS updates, NIC drivers, and BIOS or UEFI or firmware updates. Patch the router and access points. Many stability issues disappear after updates.
Enable firewall, antivirus or EDR, and disable legacy protocols
Turn on the built‑in firewall. Use reputable antivirus or endpoint protection. Disable SMB1 and other legacy protocols that attackers target. Allow only needed inbound rules.
Backup, encryption, and account hygiene
Enable full‑disk encryption where supported. Set strong, unique passwords and use a password manager. Configure automatic backups to a NAS or cloud and test restores regularly.
Even with good hygiene, problems happen. The next section helps you fix the most common ones fast.
Troubleshooting Common Issues
Even careful setups hit snags. These fast checks resolve most problems when you add new computers to a network.
IP conflicts and how to resolve them
If two devices share an IP, one drops offline. Fix by:
– Rebooting the client to get a fresh lease
– Reserving the client MAC in DHCP
– Moving static IPs outside the DHCP pool
– Clearing stale ARP entries on switches or routers if needed
DNS failures, stale leases, and cache flushes
If you can browse by IP but not by name, the issue is DNS. Try:
– ipconfig /release and /renew on Windows
– sudo dscacheutil -flushcache on macOS
– sudo systemd-resolve –flush-caches on Linux
If a device keeps the wrong settings, forget and rejoin the network.
Wi‑Fi interference, channel congestion, and cabling faults
Slow or unstable Wi‑Fi often means interference. Change channels, move the access point, or reduce overlap. For Ethernet drops, replace cables and test different switch ports. Check link speed and duplex in adapter settings.
Fixes reduce noise, but you also want to limit risk by separating untrusted devices.
Use Guest Networks and Segmentation for Safety
You have fixed common issues. Now limit what each device can reach to keep the rest safe.
Isolate visitors and IoT devices
Enable a guest SSID for visitors. Put smart TVs and IoT gadgets on a separate SSID. Deny access from guest or IoT to your main LAN so these devices cannot browse your computers.
Basic VLAN concepts for SOHO routers
Some routers support VLANs. Create VLANs for users, servers, and guests. Tag switch ports to match. Apply firewall rules that allow only what each VLAN needs.
Block inter‑LAN and limit bandwidth where appropriate
Block guest VLANs from reaching admin IPs. Rate‑limit high‑bandwidth guests so they do not starve workstations. Log blocked attempts for visibility.
If you run a small business, identity and policy tools bring even more consistency.
Optional for Small Businesses: Directory and Policy Integration
Homes can stop here. Small businesses gain control and consistency by joining devices to identity and policy tools.
Join to Microsoft Entra ID or Azure AD or on‑prem AD
Decide whether to use cloud identity or a local domain. Join Windows and macOS devices to Entra ID or AD to enforce sign‑in rules, single sign‑on, and device compliance.
802.1X or NAC for identity‑based access
Protect switch ports and Wi‑Fi with 802.1X so only authorized devices connect. Network access control can check device posture before granting access to production VLANs.
Apply policies via Intune or MDM and GPO
Use Intune or another MDM to push Wi‑Fi profiles, certificates, and app settings. Apply Group Policy for Windows baselines. Automate drive mappings and printers during onboarding.
These measures standardize onboarding and reduce support load. The final step is a brief wrap‑up to lock the process in.
Conclusion
You now know how to add computers to a network with confidence. Start with a clean router setup, pick Ethernet or Wi‑Fi, and let DHCP handle addresses unless you have a clear reason to go static. Add Windows, macOS, and Linux devices using the steps shown. Then name devices, share only what you must, and test connectivity.
Do not stop at connectivity. Patch devices, enable firewalls, and secure shares. Use guest networks and segmentation to limit risk. If problems appear, work through conflicts, DNS, and interference in order. With this approach, your network stays fast, tidy, and safer day to day.
Frequently Asked Questions
Should I use DHCP reservations or static IPs for new computers?
Use DHCP for most computers. Create DHCP reservations for key devices that need stable addresses, like printers or small servers. Use static IPs only when software demands it, and keep them outside the DHCP range.
Why can my PC see the internet but not other computers on the network?
Your network profile may be Public, or discovery may be off. Switch to a Private or trusted profile and enable network discovery and file sharing. Also confirm that firewalls allow SMB on the local network.
Is it safer to add new computers over Ethernet or Wi‑Fi?
Ethernet is simpler and more stable. It avoids wireless attacks and interference. Wi‑Fi is convenient but must use strong security: WPA3 or WPA2‑AES, long passphrases, and separate guest or IoT networks.