20 Nov 2026
Post by Aurorina
Introduction
Too many sources and not enough HDMI ports create daily friction. A well-chosen hdmi hub for tv solves that problem while keeping picture and sound pristine. You can connect game consoles, streamers, disc players, and a PC to one TV input without constant cable swaps. The trick is choosing the right device type and spec level so you do not lose 4K/120 gaming, Dolby Vision, or Dolby Atmos.
This guide cuts through jargon and helps you match the right hub, switch, splitter, or eARC adapter to your TV and gear. You will see the features that matter, clear decision paths, and wiring plans for rooms that mix consoles, streamers, and soundbars. We also cover installation tips, fixes for handshake glitches, and a future-proof checklist so you buy once and enjoy for years.
To start strong, you need to know the difference between device types that all claim to add HDMI flexibility.
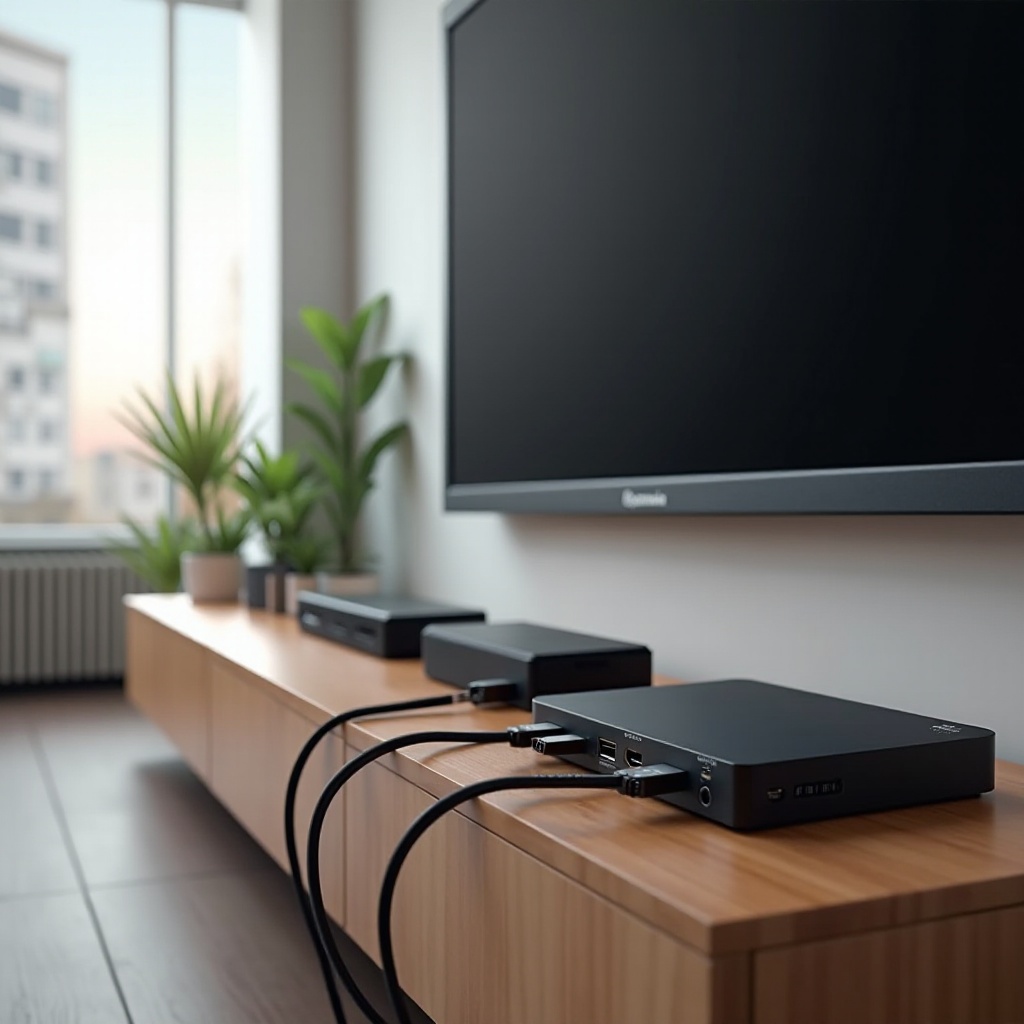
HDMI Hub for TV vs HDMI Switch vs Splitter vs eARC Adapter: What’s the Difference?
You now have a goal: more inputs, less hassle. The next step is to match that goal to the right device. If you need more HDMI inputs on a TV, a switch is the usual answer. Many retailers and users call these hubs. A switch takes several sources and outputs one cable to your TV. Most people who search for hdmi hub for tv end up buying a switch.
A splitter does the opposite: one source feeds two or more displays. Use a splitter to mirror a cable box to a TV and a projector, or to send a stream to a second room. A matrix combines switching and splitting: multiple inputs, multiple outputs, any-to-any routing for flexible rooms.
ARC and eARC adapters focus on audio. They pull lossless sound from a TV’s eARC port to an AVR or soundbar when you want the TV to handle video routing. Some eARC boxes bridge audio when you run video through a high-bandwidth switch directly to the TV.
With roles defined, the next decision is about specs. The right features protect your games and movies from quality loss.
Key Features to Look For in an HDMI Hub for TV: HDMI 2.1, 48 Gbps, VRR, ALLM, HDR
You just learned which device class you need. Now confirm that the hardware can carry the formats you care about. Modern TVs and consoles push far more data than older hubs can handle. The right spec sheet ensures smooth gameplay and accurate HDR.
Understanding bandwidth, FRL, and DSC
Bandwidth determines what signals a hub can pass. Many older switches top out at 18 Gbps, enough for 4K at 60 Hz. Newer HDMI 2.1 switches advertise up to 48 Gbps, enabling 4K at 120 Hz and beyond. FRL, also called Fixed Rate Link, replaces TMDS at higher rates and supports advanced formats. Some devices also use DSC, or Display Stream Compression, to deliver 8K or higher color depths. Seek clear spec listings and certifications to avoid guesswork.
Gaming specs: 4K/120, 8K, VRR, ALLM, QFT
If you game on PS5, Xbox Series X, or a high-refresh PC, demand 4K at 120 Hz support with VRR. ALLM switches your TV to low-latency mode automatically when you start a game. QFT reduces latency further by changing how frames transmit. Confirm that the switch supports FRL and states 4K/120 with VRR explicitly, not just 8K-capable, which can hide limits.
Movie specs: Dolby Vision, HDR10+, HDCP 2.3
For films and streaming, Dolby Vision and HDR10+ matter. Many cheap hubs break Dolby Vision or downshift to HDR10. Also check HDCP 2.3 copy protection compliance to avoid black screens from protected apps. If you run a soundbar or AVR, ensure the hub’s CEC behavior and ARC or eARC coexistence will not interfere with audio control.
With specs in mind, the next step is to fit a hub to your TV and your actual devices.
How to Choose the Right HDMI Hub for Your TV and Devices
You now know the must-have specs for gaming and movies. Turn that knowledge into a clean, stable system that complements your TV’s strengths. Map your sources and the TV’s port specs. Then pick the simplest device that supports every format you use.
Match the hub to your TV’s input capabilities
- If your TV has a single HDMI 2.1 input, use a 48 Gbps switch so consoles and a PC can share that port without losing 4K/120 or VRR.
- If your TV only supports 4K at 60 Hz, a solid 18 Gbps switch is fine. Do not overspend.
- Check whether your TV’s eARC port is separate. You can route video through the hub and keep eARC on the TV for audio.
Port count, power bricks, auto-switching, and CEC behavior
- Choose enough inputs for all current devices plus one spare.
- Prefer externally powered switches for signal stability. Bus-powered boxes often fail at high bandwidth.
- Auto-switching is convenient but can misbehave. Ensure manual override via remote or front buttons.
- Good CEC handling helps with power and input changes, but verify you can disable CEC if it causes loops.
Firmware updates, chipsets, and brand reputation
- Look for brands that publish firmware updates to fix handshake and HDR issues.
- Newer chipsets handle FRL and VRR more reliably under load.
- Read recent user reports to confirm Dolby Vision and 4K/120 work on real devices, not just on paper.
Once you have chosen a hub, a solid wiring layout prevents most headaches.
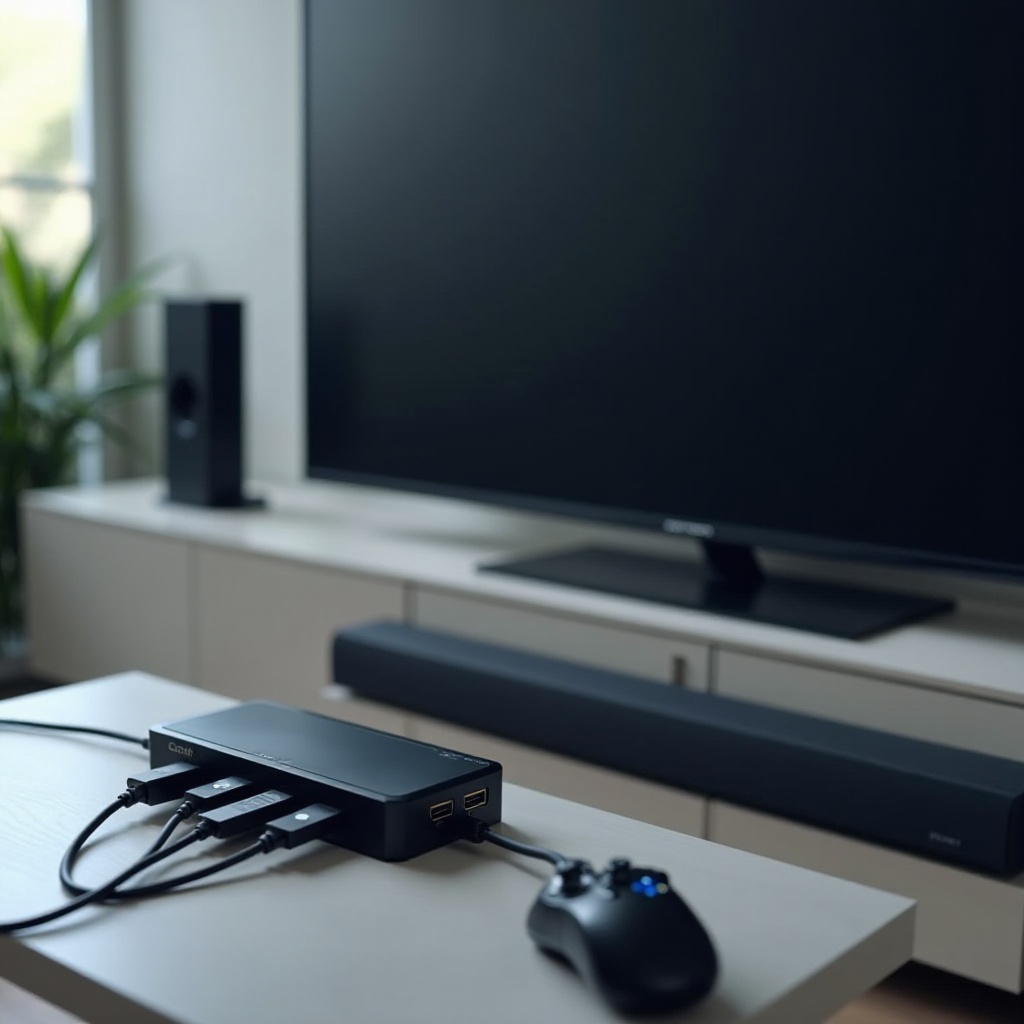
Best-Practice HDMI Hub Setups for Common Living Room Scenarios
Your choice is only as good as your layout. A tidy plan saves time and avoids format conflicts. Choose a layout that prioritizes either gaming bandwidth or home theater audio, then fine-tune to your mix of devices.
Gamer-centric build: PS5, Xbox Series X, high-refresh PC
- Use a 48 Gbps switch feeding the TV’s HDMI 2.1 input.
- Connect each console and the PC to the switch with Ultra High Speed certified cables.
- Keep eARC on the TV to send Atmos from built-in apps to a soundbar. Route game audio through the TV for lower latency.
- Enable VRR on the console and TV. Set ALLM where supported.
- If your AVR cannot handle 4K/120 video, let the TV handle video and keep audio return via eARC.
Streamer and disc-lover build: Apple TV, Fire TV, Blu-ray
- Use a high-quality 18 Gbps or 48 Gbps switch depending on 4K/60 vs 4K/120 needs.
- Prioritize Dolby Vision pass-through and stable HDCP for apps like Apple TV Plus and Netflix.
- If using a soundbar, ensure the TV’s eARC remains active. Consider an eARC adapter if your bar or AVR cannot handle every video format.
- For disc playback, enable bitstream output on the player so lossless audio can pass through eARC to your sound system.
Mixed family build: consoles, laptop docking, projector
- Use a 48 Gbps matrix if you must feed both a TV and a projector.
- For a laptop dock, set EDID to a safe common format such as 4K/60 HDR or 4K/120 SDR to avoid renegotiation every plug-in.
- Keep clear labels and a simple remote macro so users can switch inputs without confusion.
- If you mirror to a second display, limit both screens to the lower common denominator to stay stable.
After your layout prioritizes video, lock in an audio plan that preserves immersive formats.
Preserving Audio Quality with an HDMI Hub: ARC/eARC, Atmos, and Soundbars
You have a working layout for video. Audio is next. A hub can complicate audio paths. You want lossless formats to reach your soundbar or AVR while video flows at full bandwidth to the TV. The right eARC strategy preserves both.
When an eARC audio extractor is the right solution
An eARC extractor helps when your sound system lacks HDMI 2.1 inputs or fails with certain video formats. Route sources through a 48 Gbps switch to the TV for perfect video. Then use the TV’s eARC to send uncompressed audio out to the bar or AVR via the extractor. This avoids downscaling video to fit an older receiver.
Keeping Atmos from internal TV apps while using a hub
Many TVs output Atmos from built-in apps only through eARC. Keep the TV’s eARC port connected directly to your soundbar or via an eARC adapter. Do not route that link through the switch unless the switch explicitly supports ARC or eARC pass-through without breaking CEC. Confirm that lip-sync correction is on and adjust the delay if needed.
Choosing between an AVR and a premium soundbar
- Choose an AVR if you want true surround with separate speakers and more HDMI inputs.
- Choose a high-end soundbar with eARC for simpler wiring and strong dialogue clarity.
- In both cases, confirm support for Dolby Atmos and proper lip-sync handling. Update firmware on the TV and sound system for best stability.
With audio paths settled, proper installation and cable choices lock in day to day reliability.
Installation and Cable Management Tips for Your HDMI Hub
A strong plan still needs clean wiring. Small changes in cable quality or power can make or break 4K/120 and Dolby Vision stability. Tidy your gear and cut sources of interference before they become problems.
Cable lengths, ultra high-speed certification, and active cables
- Use Ultra High Speed HDMI certified cables for 4K/120 or higher.
- Keep cable runs short; under 2 meters is ideal for passive cables at 48 Gbps.
- For longer runs, use active or optical HDMI cables rated for 48 Gbps.
- Avoid tight bends near connectors; strain relief preserves internal conductors.
EDID planning, input labeling, and signal paths
- If your switch offers EDID modes, choose one that matches your TV’s best capabilities.
- Label switch inputs by device name and frame rate so family members select correctly.
- Avoid daisy-chaining multiple switches. Keep the path: Source -> Switch -> TV, with eARC returning audio to the bar or AVR.
- Use unique icons and colors on labels to speed up selection for guests and kids.
Reliable power for hubs and avoiding USB power pitfalls
- Use the included power adapter for the hub; avoid powering from a TV USB port.
- Plug the hub and TV into the same power strip to reduce ground loop noise.
- Give devices a few seconds to sync after power-on before switching inputs.
- If you use a smart plug, avoid aggressive power cycling that can corrupt EDID handshakes.
Even with a careful install, you may see black screens or dropouts. A few focused steps fix most issues fast.
Troubleshooting HDMI Hub Issues: Handshakes, Black Screens, and Dropouts
You already have clean cabling and stable power. Most remaining problems trace back to EDID or HDCP negotiation, flaky cables, or underpowered hubs. Work methodically and change one variable at a time.
EDID and HDCP negotiation: forcing formats that work
- If you see intermittent video, set the hub’s EDID to a conservative profile like 4K/60 HDR and test.
- For stubborn apps, toggle the TV’s HDMI Deep Color or Enhanced format on that input.
- If HDCP failures appear, power cycle the chain in order: TV, then hub, then sources.
- Update firmware on the hub, TV, consoles, and streamers before concluding a device is defective.
Stabilizing Dolby Vision, HDR10+, and VRR performance
- Some hubs mishandle Dolby Vision at 120 Hz; use 4K/60 for movies and 4K/120 for games.
- If VRR flickers, update firmware on the TV, hub, and consoles, then test fixed 120 Hz without VRR.
- Disable unused features such as QMS or aggressive CEC that can trigger renegotiations.
- Test with known-good demo clips to isolate format-specific issues.
Solving CEC conflicts and auto-switching glitches
- Turn off auto-switching if the hub keeps jumping inputs. Use the remote instead.
- If CEC causes power loops, disable CEC on the hub or on one device at a time until stability returns.
- For soundbars, confirm the TV’s eARC setting remains enabled after changes. Re-pair HDMI-CEC control if volume commands stop working.
With issues addressed, lock in a purchase by checking a short, future-proof list.
Buying Checklist and Future-Proofing Advice for 2026
You have a stable setup in testing. Now ensure your purchase lasts. Check minimum specs, plan your upgrade path, and verify return policies so you can swap gear if a link fails under real use.
Minimum specs a modern hub should meet
- Gaming households: 48 Gbps, 4K/120, VRR, ALLM, HDCP 2.3, Dolby Vision pass-through.
- Movie-first setups: reliable Dolby Vision and HDR10+ pass-through, HDCP 2.3, solid CEC behavior, and eARC coexistence.
- Externally powered with firmware update support and clear on-device status indicators.
When to upgrade cables vs the hub vs the TV
- Replace suspect cables first; they cause many failures and are cheap to test.
- If cables check out but 4K/120 still fails, upgrade the hub to a certified 48 Gbps model.
- Only replace the TV if it limits the formats you need and you have confirmed all other links are solid.
- Add a dedicated eARC adapter if your audio gear lags behind video capabilities.
Warranty, return windows, and your testing plan
- Buy from sellers with easy returns; test every source within the return window.
- Create a checklist: 4K/120 gaming, Dolby Vision movies, eARC audio, CEC power control.
- Keep firmware current and document stable settings for quick recovery after updates.
Conclusion
A well-chosen hdmi hub for tv adds ports without losing the features that make modern TVs shine. Match the switch or hub to your TV’s best input, demand the bandwidth your games and movies need, and keep eARC paths clean for Atmos. Use certified cables, stable power, and clear labels. If problems arise, adjust EDID, update firmware, and simplify the chain. With these steps, you get painless input switching, pristine HDR, and immersive sound in a setup anyone in the house can use.
Frequently Asked Questions
Do I need an HDMI 2.1 hub for 4K at 120 Hz?
Yes. 4K at 120 Hz with VRR needs the bandwidth and FRL signaling that HDMI 2.1 class switches provide. Look for explicit 48 Gbps support and 4K/120 and VRR in the product specs. Pair the hub with Ultra High Speed HDMI cables. If your TV only supports 4K at 60 Hz, an 18 Gbps switch is enough and saves money.
Will an HDMI hub pass Dolby Vision and Dolby Atmos?
Many modern hubs pass Dolby Vision, but not all do it well. Check for Dolby Vision and HDCP 2.3 support. Atmos from external sources usually passes if your sound path supports it. For Atmos from TV apps, keep eARC active between the TV and your soundbar or AVR. If your receiver cannot handle 4K/120 video, use an eARC extractor to separate audio from video.
Can I use an HDMI hub and keep eARC to my soundbar or AVR?
Yes. Route all sources through the hub to a TV high bandwidth input, while the TV eARC port connects directly to the soundbar or AVR. Avoid sending the eARC link through the hub unless it clearly supports ARC or eARC passthrough without CEC issues. This preserves lossless audio from TV apps and high bandwidth video from consoles.