1 Sep 2026
Post by Aurorina
Introduction
Your iPhone hides powerful Wi‑Fi options behind a few taps. These advanced settings control how your phone identifies itself, what networks it joins, how it gets an IP address, and how it protects your traffic. Small tweaks can solve slow speeds, dropped calls, login loops on public Wi‑Fi, or privacy risks on untrusted networks.
This guide shows you where to find every important option and why you might change it. You will learn what to adjust for home, work, campus, and travel. You will also find troubleshooting steps that actually fix common problems. Start with the basics of finding the settings. Then move into privacy, joining behavior, and network configuration. Finish with security standards, performance tips, and fixes for public hotspots. By the end, you will know which switches to flip and when.
Where to Find iPhone Wi‑Fi Advanced Settings
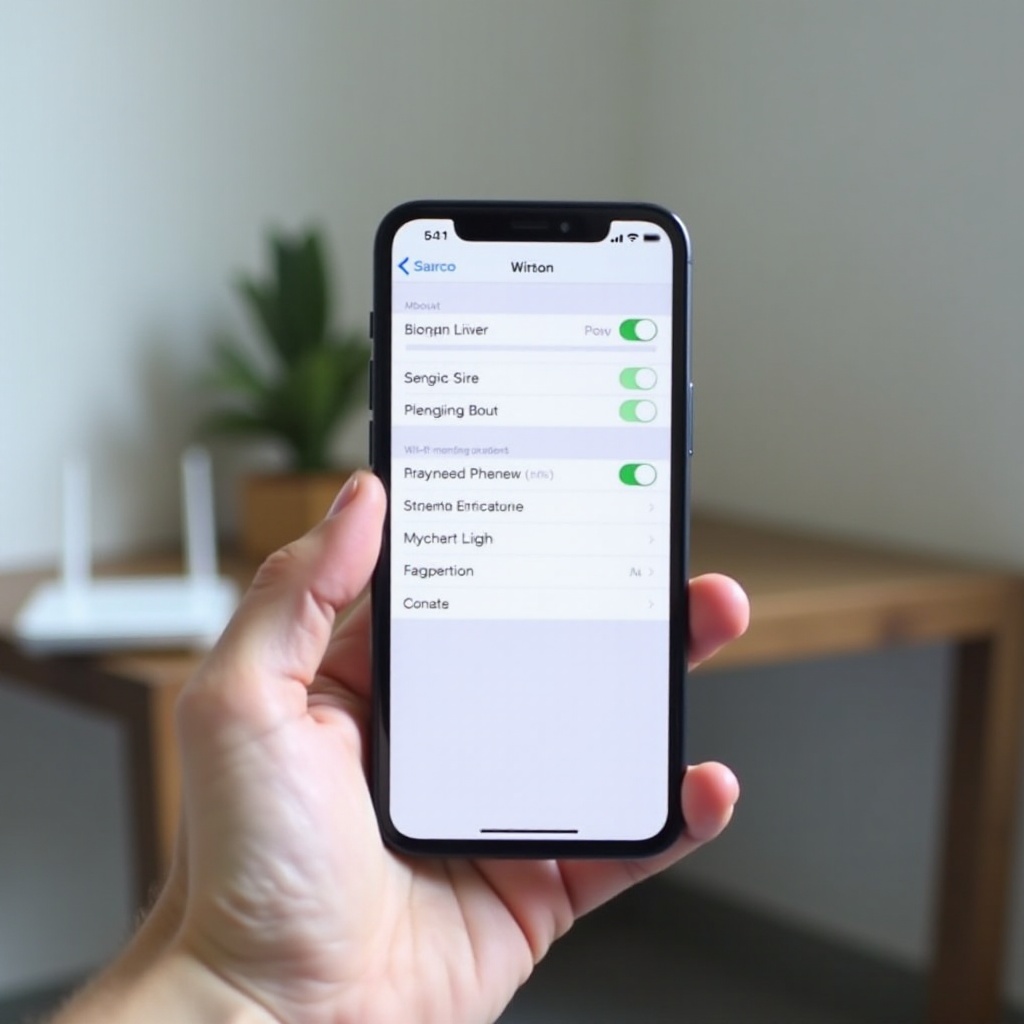
Before you change anything, you need to reach the right screen. You will use two places in Settings: the Wi‑Fi list and the details page for the network you joined. Once you know the path, each change takes seconds. The same screen hosts key privacy and performance options you will tune in the next sections.
Navigate to Settings > Wi‑Fi > i for Network Details
Follow these steps:
1) Open Settings.
2) Tap Wi‑Fi.
3) Join your network if needed.
4) Tap the info button i next to the active network.
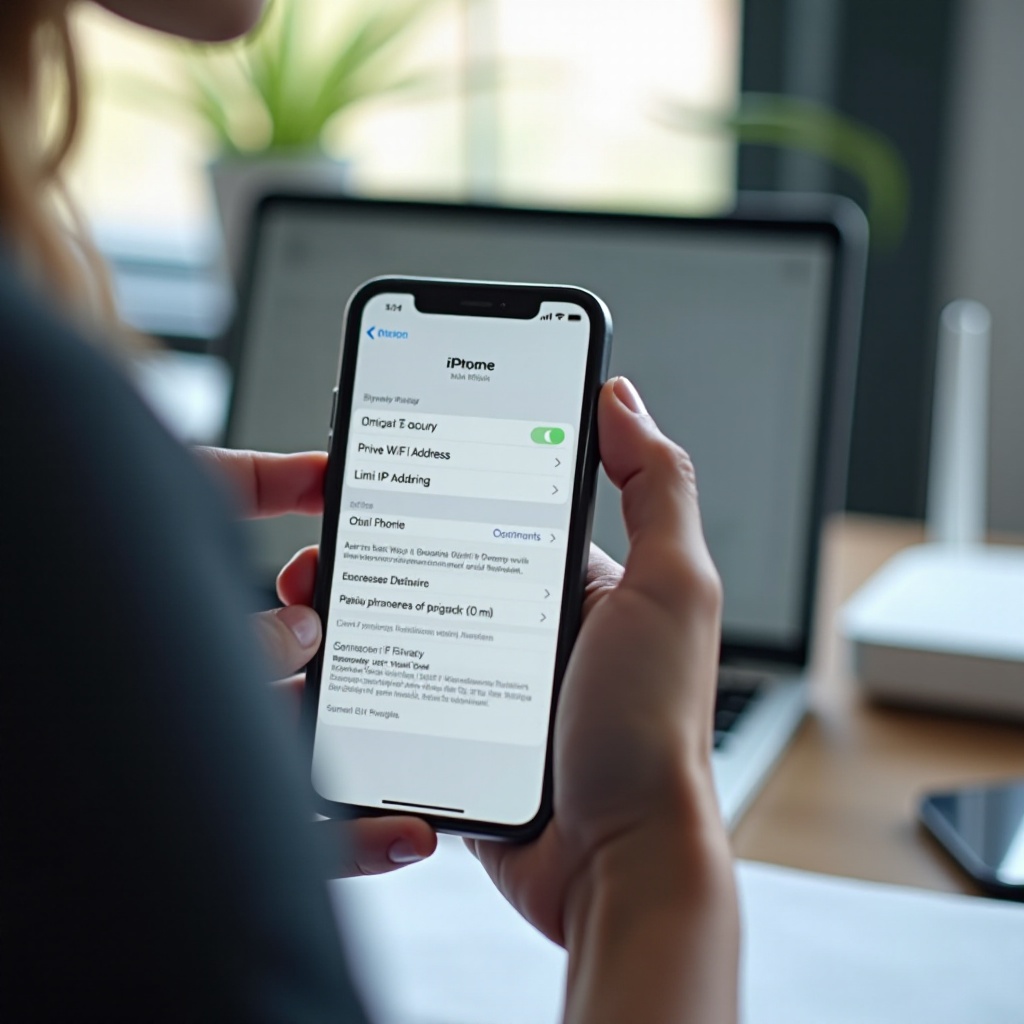
This details page hosts Private Address, Limit IP Address Tracking, Auto‑Join, Low Data Mode, and the IP, DNS, and Proxy configuration options. You will visit it often.
Understanding the Wi‑Fi Info and Status Screen
At the top, you see the network name and status such as Connected. Below that, you find options like Auto‑Join and Private Address. Scroll to view IP Address, Subnet Mask, Router, DNS, and Configure IP or DNS or Proxy. At the bottom, you may see Forget This Network and Renew Lease. Each section affects how your iPhone talks to the router and the wider internet.
What Lives Behind Each Toggle and Section
- Auto‑Join: Controls whether the iPhone automatically reconnects.
- Private Address: Uses a randomized MAC to protect you on public Wi‑Fi.
- Limit IP Address Tracking: Reduces trackable metadata through Apple privacy protections.
- Low Data Mode: Cuts background use to save data.
- Configure IP or DNS or Proxy: Fine‑tune internet behavior for speed, reliability, and access.
With these basics in hand, let us lock down your privacy and security.
Privacy and Security Controls You Should Know
Now that you can reach the network details, focus on what protects you on each Wi‑Fi. These controls reduce tracking, prevent profiling, and warn you if a router uses weak security. Set them wisely on every network you join. Next, you will control how and when your iPhone joins networks to avoid sticky connections.
Private Address (MAC Randomization): When to Keep It On
Your iPhone can present a unique, random MAC address per network. That stops stores, hotels, and other venues from tracking your device across visits. Keep Private Address on for most networks, especially public ones. Turn it off only if:
– Your work or campus uses MAC‑based access control.
– A hotel or airline gate requires a device MAC to tie access to a room or ticket.
If you must disable it, toggle it back on when you leave that network to restore privacy.
Limit IP Address Tracking: How It Works on Wi‑Fi
This setting reduces the network or provider ability to link your IP to your identity. It works per network, so toggle it on for public and semi‑trusted Wi‑Fi. Combined with encrypted traffic such as HTTPS, it improves privacy without breaking most services. If a corporate portal blocks it, test by turning it off on that specific network only.
Secure DNS and iCloud Private Relay Considerations
You can set custom DNS in Wi‑Fi details, and you can enable encrypted DNS using configuration profiles or trusted privacy apps. Encrypted DNS protects queries from eavesdroppers on the local network. iCloud Private Relay, available with eligible plans, hides your IP from many sites in Safari. If a site or work tool misbehaves, try disabling Private Relay for that site or network. Balance privacy with access needs and document any changes.
Control How Your iPhone Joins and Uses Networks
Privacy is only part of the story. Your phone also decides which networks to join and how much data to use. These controls help you avoid sticky connections and surprise slowdowns. After you adjust joining behavior, you can fine‑tune network configuration for speed and reliability.
Auto‑Join for Known Networks
Auto‑Join reconnects without asking. Leave it on for home and work, where you trust the network. Turn it off for cafés, airports, or any place with unreliable Wi‑Fi. This prevents your phone from latching onto a weak signal and dropping calls or syncing. If you return often, you can still join manually from the Wi‑Fi list.
Auto‑Join Hotspot Options and Priorities
In Settings > Wi‑Fi, tap Auto‑Join Hotspot. Choose:
– Off: Never join hotspots automatically.
– Ask to Join: Your iPhone will prompt you.
– Automatic: Your iPhone may join a known hotspot when Wi‑Fi is weak.
For stability, use Ask to Join unless you rely on shared hotspots. Prioritize a stable home SSID over random hotspots to avoid bouncing between networks.
Low Data Mode and Background Activity
Low Data Mode reduces background tasks, auto‑updates, and prefetches. Enable it if you tether or use limited Wi‑Fi. Turn it off when speed matters, such as video calls or backups. On slow public Wi‑Fi, Low Data Mode can prevent timeouts by reducing background load. At home, keep it off to let apps sync freely.
Network Configuration: IP, DNS, and Proxy
After controlling how your iPhone joins networks, tune how it communicates. IP, DNS, and Proxy settings can fix conflicts, speed up browsing, or grant access to internal tools. With configuration refined, you can assess network security standards that might limit performance or safety.
Configure IP: Automatic DHCP vs Manual Static
- Automatic DHCP: Best for almost all users. The router assigns IP details. Simple and low‑maintenance.
- Manual Static: Use when:
1) A router or venue runs out of DHCP leases.
2) You need a fixed IP for port‑based restrictions common in offices.
3) Devices fight over the same IP conflict.
If you set a manual IP, choose an address outside the router DHCP pool to avoid conflicts. Enter Subnet Mask often 255.255.255.0, Router gateway, and DNS. If you lose connectivity, switch back to Automatic.
Configure DNS: Faster, Reliable Resolvers
DNS translates names to IPs. Slow DNS feels like slow internet. You can:
– Leave it Automatic to use your router DNS.
– Set manual DNS to a trusted provider for speed or reliability.
Ideas include:
1) Your ISP DNS for local CDN performance.
2) Public resolvers focused on privacy or security.
Test browsing speed after changes. If something breaks, clear manual entries to return to Automatic.
Configure Proxy: Off, Manual, and Auto PAC
Some schools, workplaces, and hotels require a proxy. Options:
– Off: Default for most users.
– Manual: Enter server, port, and credentials if provided.
– Auto: Enter a PAC URL to load rules from IT.
Proxies can affect speed, privacy, and app access. If you see repeated login prompts, confirm credentials or switch to Auto with the correct PAC file. When leaving a managed network, set Proxy back to Off to avoid failures elsewhere.
Wi‑Fi Security Standards and Weak Security Alerts
With network behavior tuned, check if the Wi‑Fi itself is secure. Your iPhone warns you when a router uses outdated encryption. Use this signal to protect your data and improve stability. Next, you will make performance choices that deliver real‑world gains.
WPA3 vs WPA2 Compatibility on iPhone
WPA3 offers stronger protection and better defenses against offline attacks. Many modern routers support WPA3 or WPA2 or WPA3 mixed mode. Use WPA3 where all your devices support it. If older devices fail to connect, set the router to WPA2 or WPA3 transition rather than falling back to less secure modes.
Understanding Weak Security Warnings
If you see a Weak Security alert, the router may use WPA or WPA2 with TKIP, WEP, or open authentication. These modes are vulnerable. Whenever possible, switch the router to WPA2 with AES or WPA3. If you cannot change the router, avoid sending sensitive data on that network and keep Private Address and Limit IP Address Tracking enabled.
Avoiding Open and WEP Networks
Open and WEP networks provide little to no protection. Prefer networks with a password and modern encryption. When you must use open Wi‑Fi, avoid signing into critical accounts and use encrypted apps. Forget the network after use to prevent automatic reconnection later.
Performance and Reliability Tips That Actually Help
Strong security sets the foundation. Next comes performance. Small selections in how you connect can deliver big gains in speed and stability. After these tips, you will see how calling and continuity features rely on a clean, reliable Wi‑Fi link.
Choosing Between 2.4 GHz and 5 or 6 GHz SSIDs
- 2.4 GHz travels farther but is crowded and slower.
- 5 GHz is faster with less interference but shorter range.
- 6 GHz Wi‑Fi 6E offers low congestion and high speeds if your router supports it.
If your router uses separate SSIDs, prefer 5 GHz or 6 GHz nearby and 2.4 GHz for distant rooms. If band steering misbehaves, split SSIDs and join the best one for each spot.
Wi‑Fi Assist: When to Enable or Disable
Wi‑Fi Assist lives in Settings > Cellular. It uses cellular data if Wi‑Fi is poor. Keep it on for uninterrupted browsing and calls. Turn it off if you have a limited data plan or want to diagnose Wi‑Fi issues. If a video keeps buffering on weak Wi‑Fi, Wi‑Fi Assist can smooth playback by switching to cellular temporarily.
Mesh Networks, Roaming, and Sticky Clients
Mesh systems aim to steer devices to the best node. iPhones can stick to a distant mesh point. If you see poor speeds near a different node, briefly toggle Wi‑Fi off and on to force a roam. Place mesh nodes in open areas. Avoid overlapping channels and oversized channel widths that create congestion.
Calling and Continuity over Wi‑Fi
Once your connection is fast and stable, improve calling and Apple continuity features. These tools depend on clean Wi‑Fi and correct network options. After that, you will learn how to troubleshoot persistent problems with targeted resets.
Enabling and Optimizing Wi‑Fi Calling
Most carriers support Wi‑Fi Calling. Enable it in Settings > Cellular > Wi‑Fi Calling. Use it when cellular is weak but Wi‑Fi is strong. If calls fail on a particular network, check:
– Router security mode and firmware.
– Whether the network blocks VoIP ports.
– DNS reliability and latency.
Switch to a less congested band or change DNS if call setup stalls.
FaceTime, Handoff, and Continuity Behaviors
FaceTime, Handoff, and Universal Clipboard rely on local network discovery and Apple services. Keep devices on the same SSID and Apple ID. If Handoff is unreliable, ensure Bluetooth is on and that both devices have strong Wi‑Fi. Conflicting proxies or strict firewalls can block continuity traffic. If problems persist, test on a different SSID to isolate the cause.
Personal Hotspot Interactions with Wi‑Fi
Personal Hotspot disables Wi‑Fi on the sharing device while it provides a hotspot. If you host a hotspot, your iPhone uses cellular only. If you join someone else hotspot, treat it like any Wi‑Fi: set Low Data Mode if needed and monitor Auto‑Join so your phone does not auto‑attach later and burn their data.
Troubleshooting with Advanced Settings
Even with perfect setup, networks hiccup. Use the tools on the Wi‑Fi details page to clear stale data, resolve conflicts, and reset only what you must. With targeted steps, you can avoid a full device reset and get back online. Then you will be ready for best practices on the road.
Forget This Network vs Renew Lease
- Forget This Network: Erases the saved password and settings. Use it when captive portals loop, credentials change, or you switched routers. Rejoin fresh.
- Renew Lease: Requests a new IP from the router. Use it when you see IP conflicts, no internet, or strange latency after moving between bands.
Start with Renew Lease. If issues persist, Forget This Network and rejoin. When possible, reboot the router to clear stuck leases and stale ARP entries.
Reset Network Settings: Pros and Cons
Reset Network Settings found in Settings > General > Transfer or Reset iPhone > Reset clears all Wi‑Fi, VPN, and cellular settings. It fixes deep issues but erases saved networks and VPN profiles. Try it if you have persistent DNS failures, broken VPN routes, or system‑wide Wi‑Fi crashes. Back up Wi‑Fi passwords with iCloud Keychain first.
When to Toggle Private Address or Reconfigure DNS
Some routers reject randomized MACs or mishandle DNS. If a known network suddenly blocks access:
1) Turn Private Address off for that one network and rejoin.
2) Set manual DNS to a reliable resolver and test.
3) If captive portals fail, forget the network, rejoin, and leave Limit IP Address Tracking on unless the portal requires otherwise.
If the issue is specific to one SSID on a mesh system, try a different band or node.
Public Wi‑Fi and Travel Best Practices
Public networks add friction: captive portals, device limits, and throttling. With a few habits, you can connect quickly and protect your data. After building a reliable routine for travel, you can refine your home router for the best iPhone experience.
Captive Portals and Reliable Login Steps
- Join the network and wait for the portal.
- If it does not appear, open a browser and visit a non‑HTTPS site to trigger it.
- Turn off Private Address only if the venue ties login to a single MAC.
- After login, avoid switching bands or nodes until you finish your session.
If the portal never appears, forget and rejoin the network, or toggle Wi‑Fi off and on to refresh DHCP and DNS.
Hotels, Airports, and Device Limits
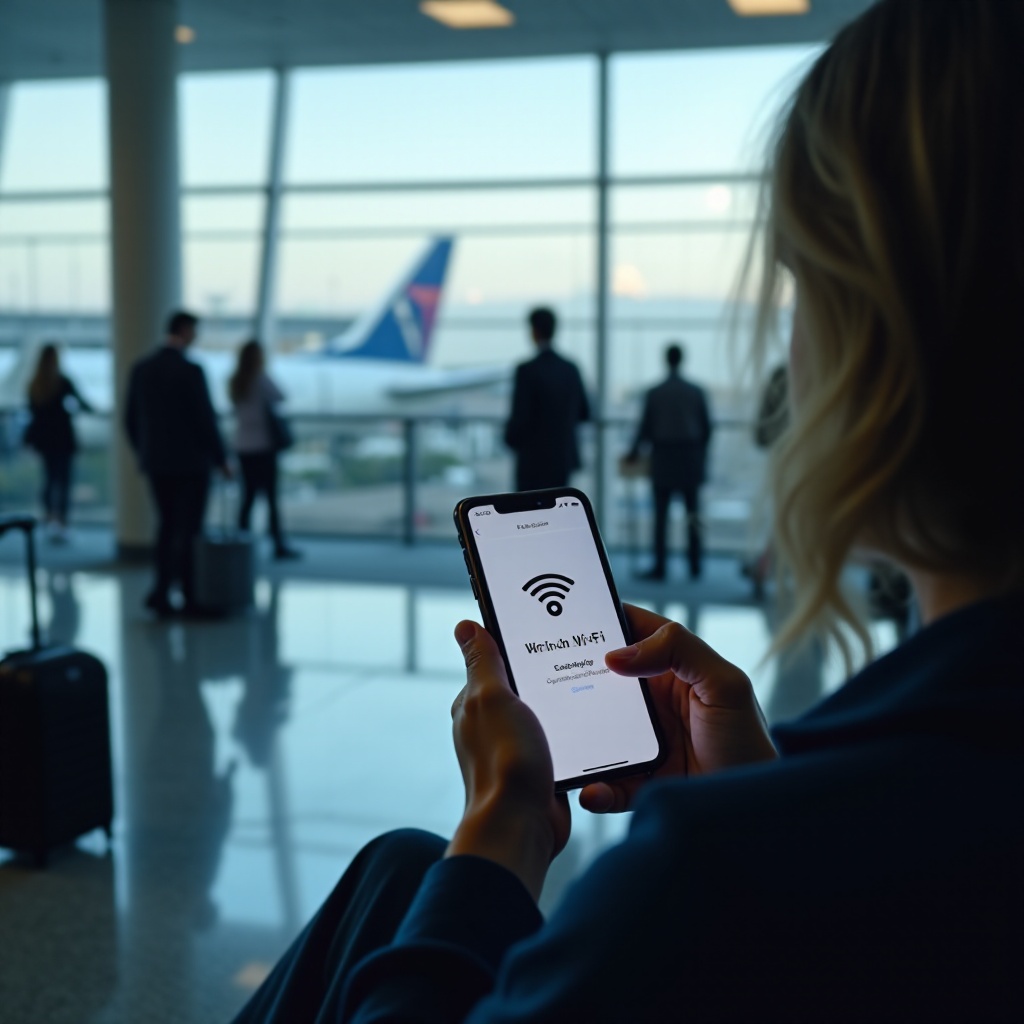
Many venues restrict the number of devices per room or pass. If your phone cannot connect after your laptop joins, either forget and rejoin on the other device or clone access by reusing the same MAC which requires disabling Private Address. When you check out or leave, re‑enable Private Address. Consider a travel router that shares one paid connection with all your devices.
Sharing Wi‑Fi Passwords Securely
Use Apple password sharing to send credentials to trusted contacts nearby. Avoid reading passwords aloud in public spaces. For guests at home, create and share a guest network to separate their devices from your main network. Rotate the guest password periodically.
Router‑Side Tweaks That Pair with iPhone Settings
Great Wi‑Fi requires cooperation between phone and router. A few router changes can unlock higher speeds and eliminate warnings. Once your home network is tuned, enterprise and campus networks need a different approach that often involves profiles and policies.
Channel Selection, Width, and DFS Awareness
Use auto channel if it works well; otherwise, pick the least congested channel based on a scanner. On 5 GHz, start with 40 to 80 MHz channel widths for balance. DFS channels can be fast but may drop if radar is detected. If you see sporadic disconnects, try non‑DFS channels. On 2.4 GHz, stick to channels 1, 6, or 11 to reduce overlap.
Aligning Security Modes to Avoid Errors
Set WPA2 with AES or WPA3. Avoid WPA or WPA2 with TKIP. If you see Weak Security alerts on your iPhone, update router settings. Use a strong passphrase and disable WPS. Consistent security across SSIDs prevents odd association failures and reduces support headaches.
Firmware Updates, Band Steering, and Separate SSIDs
Update router firmware to fix bugs and improve performance. If band steering is too aggressive or sticky, disable it and split bands into separate SSIDs labeled with 2.4 and 5G or 6G. Join the best SSID for each room or device. Document changes so you can revert if needed. Reboot gear after big changes to clear stale state.
Work and School Networks on iPhone Enterprise
Enterprise and campus Wi‑Fi use stricter controls. Your iPhone supports them well when configured correctly. After you align with IT policies, check a few system services that influence discovery and continuity.
802.1X and Certificate‑Based Authentication
Many organizations require 802.1X methods such as EAP‑TLS, PEAP, or TTLS. Profiles from IT install certificates and Wi‑Fi settings. Always accept certificates only from your organization. If prompts repeat, the certificate may have expired; contact IT for an updated profile. Keep device time accurate to avoid TLS errors.
MDM Wi‑Fi Profiles and Enforced Settings
Managed devices receive Wi‑Fi, DNS, and proxy settings via MDM. Some toggles, like Private Address or Limit IP Address Tracking, may be set or hidden by policy. Do not override them. If access fails, open a ticket with details: SSID, time, your location, and any error messages. Provide iOS version and device model to speed resolution.
PAC Files, Proxies, and Content Filters
Auto proxy PAC scripts route specific domains through proxies. If browsers work but some apps fail, the PAC may not cover their endpoints. Share app domains with IT so they can update the PAC. When off‑site, disable proxies to restore normal access. If a captive portal appears while a proxy is active, temporarily disable the proxy to complete login.
Accessibility and System Services That Affect Wi‑Fi
Some system features influence discovery and location‑assisted networking. If Wi‑Fi seems inconsistent, check these toggles before deeper resets. With radios and services configured correctly, you can apply advanced tips without chasing false leads.
Location Services: Networking and Wireless Toggle
In Settings > Privacy and Security > Location Services > System Services, ensure Networking and Wireless is on. It helps the system detect networks for location accuracy and captive portals. If it is off, some Wi‑Fi features and prompts may behave inconsistently.
Bluetooth, Ultra‑Wideband, and Scanning
Bluetooth aids proximity features like Handoff and discovery. Keep it on for continuity and AirDrop. Ultra‑Wideband can help with device awareness on newer models. If you disable radios to save battery, expect reduced continuity reliability. Test with Bluetooth enabled when diagnosing Handoff issues.
Battery Optimizations vs Network Accuracy
Low Power Mode limits background tasks and may slow network scans. If you troubleshoot Wi‑Fi performance, turn off Low Power Mode temporarily. After you resolve issues, re‑enable it if you need longer battery life. Consider charging while running large updates or iCloud restores.
Advanced Tips and Common Myths
You now have a stable, secure setup. A few final tips can prevent edge‑case problems and clear up misconceptions. With these in mind, the conclusion will recap habits that keep your Wi‑Fi fast and safe.
Static IP Use Cases and Pitfalls
Use static IP only to solve specific problems, like DHCP exhaustion or devices that must stay reachable. Misconfigured static IPs cause conflicts, DNS failures, and no internet. Document router ranges before assigning a static address. Reserve the IP in the router if possible to avoid conflicts.
Encrypted DNS DoH or DoT on iOS
Encrypted DNS can protect your queries on public Wi‑Fi. You can enable it with configuration profiles or privacy apps from trusted providers. Test access to work resources after enabling it, and keep a fallback plan for networks that restrict custom DNS. Keep the provider addresses handy in case you need to restore defaults.
Myths About Signal Bars and Boosters
More bars do not always mean more speed. Congested channels and slow DNS can make a full‑strength connection feel slow. Consumer boosters often add noise or amplify interference. Fix the channel, band, and router placement first. Use wired backhaul for mesh when possible.
Conclusion
Your iPhone Wi‑Fi advanced settings give you control over privacy, speed, and stability. Use Private Address and Limit IP Address Tracking on public networks. Fine‑tune Auto‑Join and Low Data Mode based on context. Adjust IP, DNS, and Proxy only when you have a clear reason. Watch for Weak Security alerts and prefer WPA3 or WPA2 with AES.
When problems appear, start small: Renew Lease, forget the network, or try different DNS. On the router side, ensure modern security and sensible channels. For work and school, rely on official profiles and policies. With these habits, you will connect faster, stay safer, and avoid most Wi‑Fi headaches.
Frequently Asked Questions
Where are iPhone Wi‑Fi advanced settings located?
Open Settings, tap Wi‑Fi, join your network, then tap the info button i next to it. This page shows Private Address, Limit IP Address Tracking, Auto‑Join, Low Data Mode, and Configure IP or DNS or Proxy.
Should I turn off Private Address on my iPhone?
Keep Private Address on for almost all networks. Turn it off only when a specific network requires your real MAC for access, such as some hotels or enterprise environments. Re‑enable it afterward.
How do I manually set DNS on iPhone for faster Wi‑Fi?
Go to Settings > Wi‑Fi, tap the info button i next to your network, tap Configure DNS, choose Manual, then add the DNS server IPs you want. Save and test. Remove entries to return to Automatic.